Not sure whether to use superwash or untreated wool? Compare feel, stitch definition, growth, pilling, felting, and real-life washing tips—plus how to swatch...
Hand-Dyeing Bare Yarn with Food Coloring

Published · Last updated
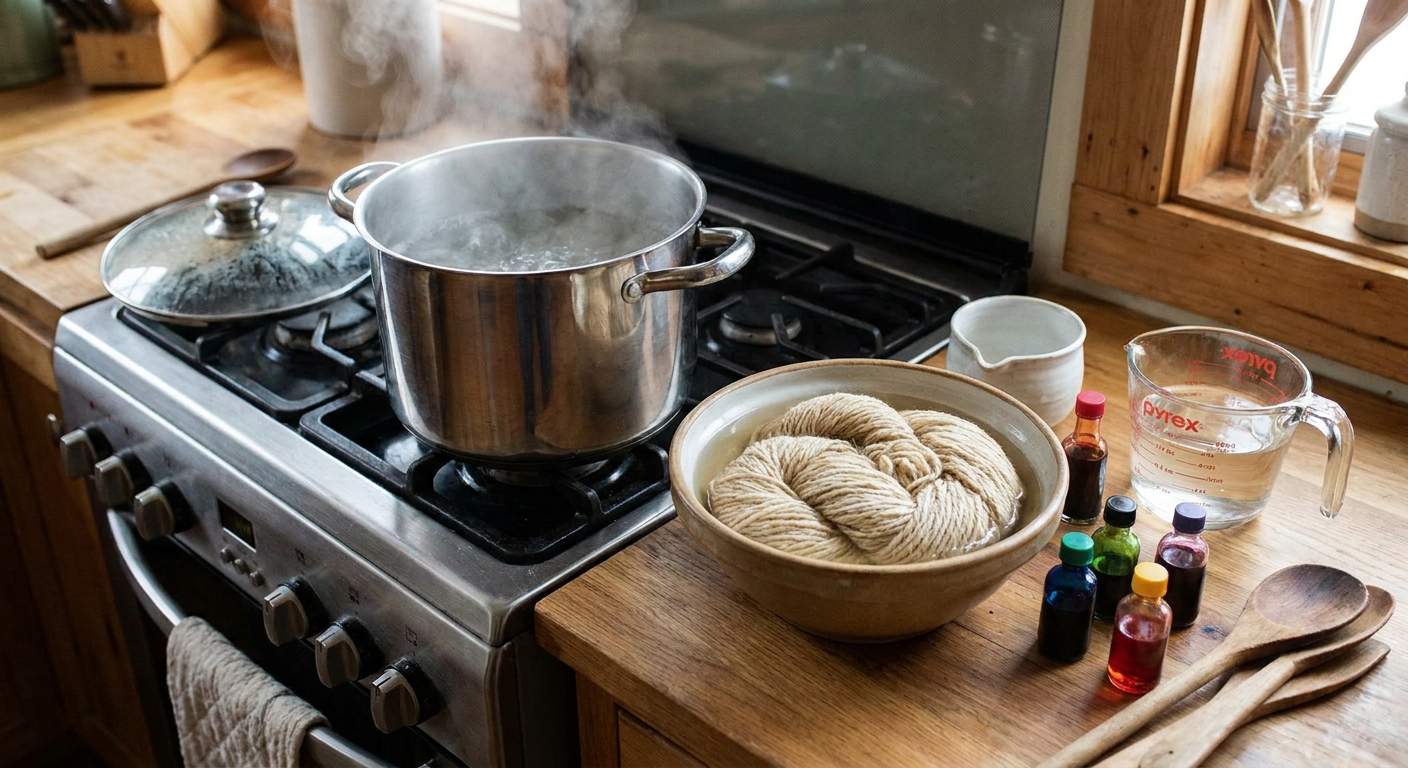
The first time I dyed bare yarn in my kitchen, I expected something fussy and intimidating. Instead, it felt a lot like making a pot of tea: warm water, a little acid, a little color, and patience. Food coloring is wonderfully approachable for small batches, and when you pair it with vinegar and gentle stovetop heat, you can get vibrant, reasonably colorfast results on animal fibers for many projects. Lightfastness varies by the specific dye color and how much sun the finished piece sees, so I treat bright window sills like the true stress test.
This guide walks you through a safe, reliable method for dyeing bare yarn at home, plus the little details that make the difference between “cute experiment” and “I cannot wait to crochet with this.”
What this works on (and what it does not)
Food coloring is not the same thing as professional acid dye, but it behaves a lot like an acid dye under the same conditions. With an acid like vinegar plus heat, it bonds well to protein fibers.
Great choices
- Wool (including superwash wool)
- Alpaca
- Mohair
- Silk
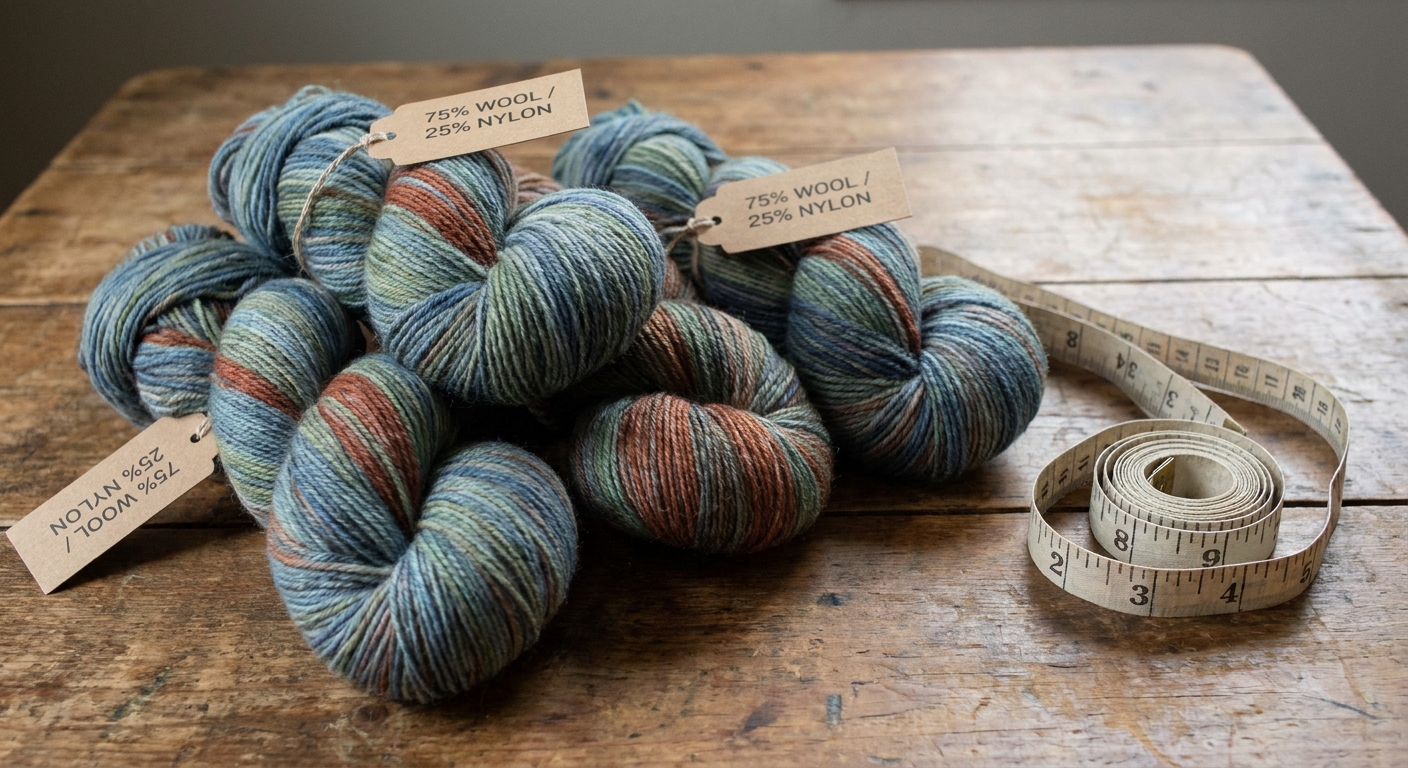
- Nylon blends (sock yarn often takes color beautifully because nylon can dye under acid conditions too, though it may need a little more heat time to reach full depth)
Not ideal
- Plant fibers like cotton, linen, bamboo: food coloring mostly rinses out or looks weak and uneven.
- 100% acrylic: it will not dye with this method.
If you are choosing yarn for garments, it can help to understand how different fibers behave with heat and water. My general notes on fiber personality are in Wool vs Acrylic Yarn for Sweaters, and if you love drape and halo, Alpaca Yarn for Knitters is a good read too.
Safety and setup
I keep this beginner-friendly, but I still treat dyeing like cooking with a “do not eat” label. Food coloring is food safe, but once it has touched yarn, it is craft-only.
- Use dedicated tools if you can: a pot, spoon, measuring cups, and a thermometer that you do not plan to use for cooking later. If that is not possible, wash thoroughly and be sensible about what you are comfortable with.
- Ventilation: vinegar smell can be strong. Crack a window or run the hood fan.
- Gloves: food coloring stains skin fast, and it loves cuticles.
- Protect your counters: a trash bag or plastic tablecloth plus paper towels makes cleanup easy.
- Avoid temperature shock and agitation: big temperature swings plus a lot of movement can increase felting risk. Think “gentle spa day,” not “vigorous scrub.”
Supplies you will need
- Bare (undyed) animal fiber yarn, twisted into a skein and tied in at least 4 places
- Liquid food coloring (standard grocery store bottles are perfect)
- White vinegar (5% acidity is typical)
- Large pot (stainless steel is ideal)
- Thermometer (helpful for consistency)
- Heat-safe spoon or tongs
- Measuring spoons
- Plastic cups or small bowls for mixing dye
- Gloves
- Old towels
Optional but very helpful: a little squirt bottle for applying dye, a cooling rack for drying, and a small scale if you want repeatable “recipes.”
Before you dye: prep the yarn
1) Tie the skein securely
If your yarn did not come pre-tied, add ties in 4 to 8 spots. Use scrap yarn and keep ties snug but not tight enough to dent the strands.
2) Soak the yarn
Fill a bowl or your pot with lukewarm water and add a small squirt of dish soap. Submerge the skein fully and let it soak for 20 to 30 minutes. This lets the fibers drink up water so they accept dye evenly.
Gentle rule: press the yarn under the water, do not swish it around like laundry.
The basic stovetop method
This is my go-to “first dye day” process. You can do solid, tonal, or lightly variegated colorways just by changing how you apply the color.
Step 1: Prepare your dyebath
- Put your soaked yarn in the pot and add enough lukewarm water to cover it by at least 1 inch. You want room for water to circulate around the skein, especially if you are aiming for an even tonal.
- Add vinegar: use 1/4 cup vinegar per 1 gallon of water as a reliable starting point. For very stubborn yarns or very saturated colors, you can go a bit higher, but you do not need to overdo it.
Step 2: Mix your dye
In a cup, mix food coloring with a little warm water. Starting amounts for one 100 g skein:
- Pastel: 10 to 20 drops total
- Medium: 1/2 to 1 teaspoon total
- Deep: 1 to 2 teaspoons total (sometimes more depending on brand and fiber)
If you want fewer speckles, pre-dissolve the dye well before adding it to the pot.
Step 3: Add color
For a solid or tonal colorway, pour dye mixture around the pot in several spots. For a simple variegated look, add color in “pockets” and resist the urge to stir.
My no-felt habit: I do not stir once the yarn is in. If I must move things, I lift and lower gently with tongs like I am turning a very delicate pastry.
Step 4: Heat slowly
- Turn the burner to low or medium-low and slowly bring the pot toward steaming.
- Target temperature: 170 to 185°F (about 75 to 85°C). You can go up to about 195°F, but I avoid a rolling boil. If you see lots of active bubbling, back the heat down.
- Hold at that steamy temperature for 20 to 30 minutes. Nylon-heavy blends may benefit from a little longer time at temperature.
You will often see the water turn clearer as the dye exhausts and bonds to the yarn. Exhausting just means the dye leaves the water and moves into the fiber.
Step 5: Turn off heat and let it cool
This is the patience part. Let the yarn cool in the pot until it is close to room temperature. Cooling slowly helps reduce felting risk and also gives dye more time to settle.
Rinse and dry
1) Rinse at a similar temperature
Drain the pot and rinse the skein in water that is close to the pot temperature, then gradually cooler. Going from hot to cold instantly can increase felting risk and can also make fibers tighten up.
2) Wash lightly
If the water still runs tinted, wash gently in lukewarm water with a drop of dish soap, then rinse again.
3) Squeeze, do not wring
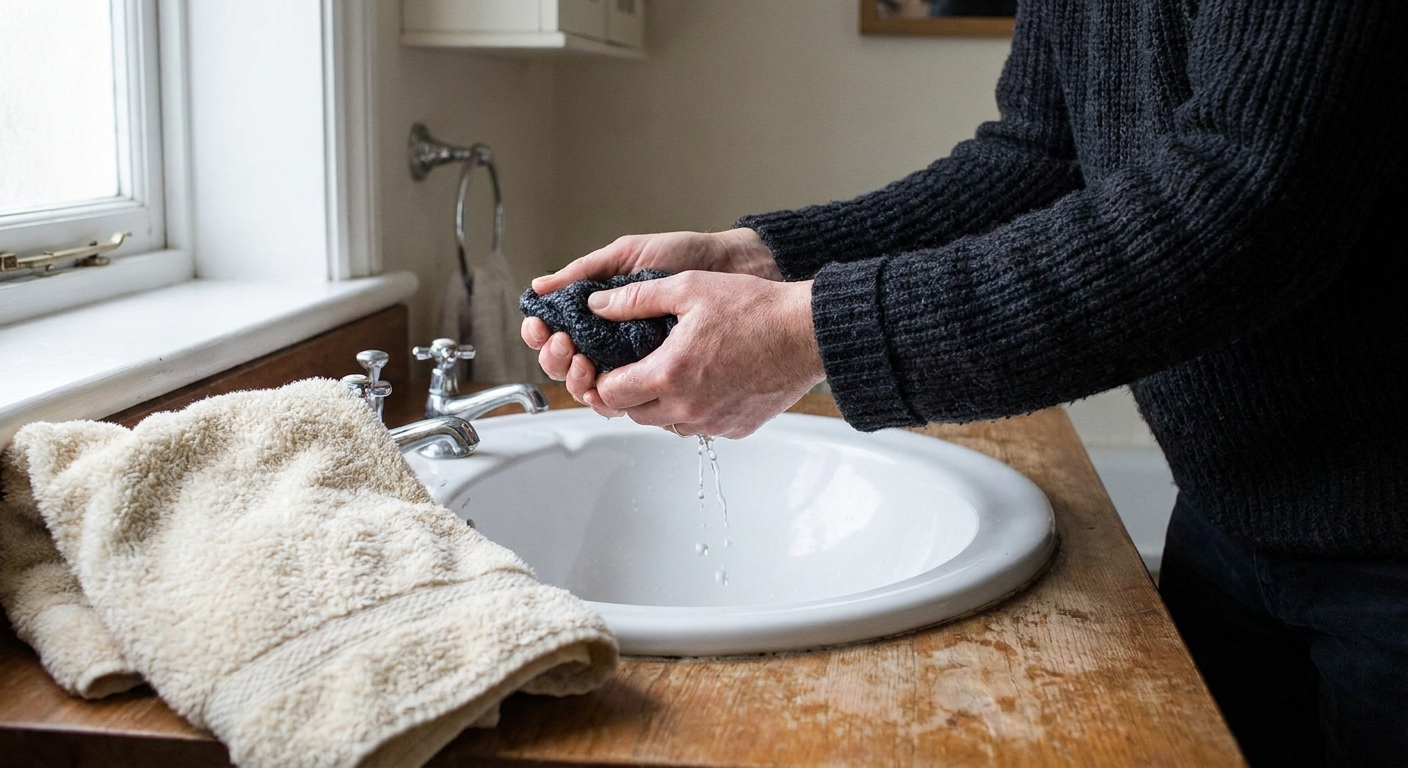
Press water out with your hands, then roll the skein in a towel and press. No twisting.
4) Dry fully
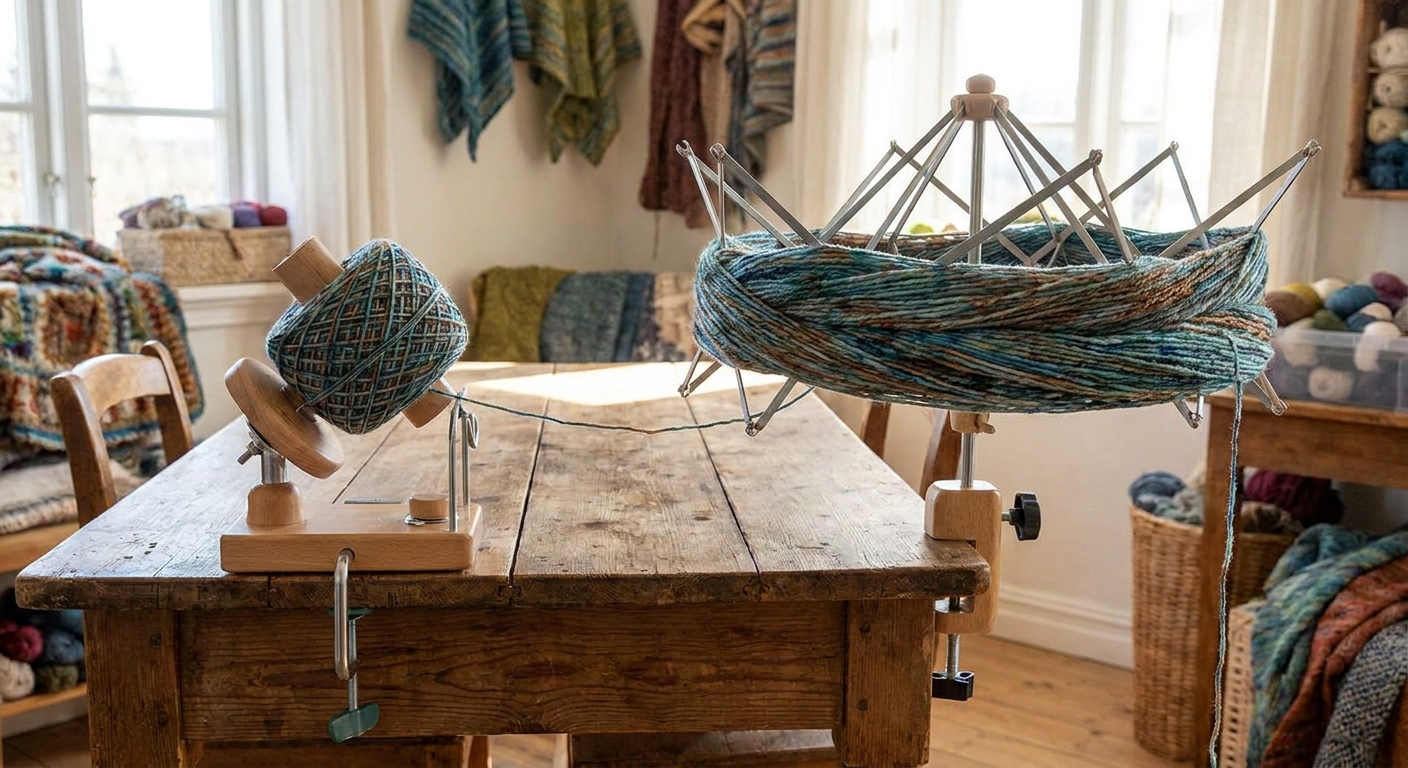
Hang the skein or lay it over a drying rack with airflow. Let it dry completely before winding. Damp yarn can stretch and dry misshapen on the swift.
Simple color recipes
Food coloring varies by brand, so think of these as “starting vibes,” not strict formulas. I always test on a small mini skein when I care about repeating a colorway.
Pretty tonal pink
- Warm dyebath with vinegar
- 1/2 teaspoon red food coloring diluted in 1/2 cup warm water
- Pour in 3 to 4 spots, no stirring
Ocean teal (blue-green)
- 3/4 teaspoon blue + 1/8 teaspoon green, diluted
- Add blue first, then green in a couple of small pours for depth
Autumn speckle with soft edges
- Start with a dyebath that is clear of dye at first
- Add 1/2 teaspoon yellow diluted for a base
- Then drizzle tiny amounts of red and blue dye mixtures over the yarn surface
- Let sit 5 minutes before heating so the speckles soften at the edges
How to get the look you want
Solid color
- Dissolve dye completely in warm water first.
- Add dye evenly around the pot.
- Very gently move the yarn once or twice early on if needed, lifting and lowering instead of stirring.
Tonal
- Add dye in several pours and do not fully mix it.
- Let the yarn sit a few minutes before heating so color migrates softly.
Variegated
- Add different colors in different zones.
- Do not stir.
- Water matters here: more water gives softer transitions, less water keeps colors more “where you put them.”
- Use lower dye concentration to avoid harsh transitions, then build with a second dye session if you want more saturation.
Speckles
- Mix dye stronger and apply in tiny amounts.
- Use a low-water setup so dye stays where it lands: just enough water to wet the skein, or apply dye to yarn sitting above a shallow dyebath.
- Heat gently to set speckles, still no stirring.
Troubleshooting
My yarn turned out patchy
- Cause: yarn was not fully soaked or dye was poured onto dry-ish spots.
- Fix next time: longer soak and fully submerge before adding dye. Consider tonal style instead of chasing a perfect solid.
The color is lighter than I expected
- Cause: not enough dye, short heat time, water volume too high for the look you want, or a fiber that resists saturation.
- Fix: you can re-dye the same skein. Soak again, make a stronger dye mix, and repeat the heating step.
The water never went clear
- Cause: too much dye for the fiber to absorb, not enough acid, or not enough heat time.
- Fix: add a splash more vinegar and keep at steaming temp a bit longer. If it still stays tinted, rinse well and accept a little bleed risk. Deep shades sometimes hold extra pigment.
My yarn felted or got fuzzy
- Cause: too much agitation, big temp swings, or boiling.
- Fix: once felted, it cannot be unfelted. Save it for a snug hat, felted coaster, or a small project where texture is not a dealbreaker.
My yarn looks dull
- Cause: some bare yarn bases are creamier than others, and some colors need layering. Water chemistry can also play a role. Hard water can mute color or shift it slightly.
- Fix: overdye with a thin wash of a brighter tone, or add a tiny amount of the complementary color to “wake it up.” If you suspect hard water, try dyeing with filtered water once and compare.
Keeping good notes
If you have ever made a perfect colorway and then immediately forgotten how, welcome to my life. A tiny project card makes it repeatable.
- Yarn base (fiber content, brand, grams)
- Soak time
- Water amount and vinegar amount
- Food coloring brand and amounts
- Approximate temperature and how long you held heat
- What you loved and what you would change
If you want repeatability, I also recommend noting dye amounts per 100 g of yarn. Even a rough “1 teaspoon blue per 100 g” gets you back in the same neighborhood next time.
If you like keeping your crafting organized, you might enjoy my approach in Make a Project Card Before Starting Crochet. The same habit is gold for dyeing.
What to crochet with it
Hand-dyed yarn really shines in simple stitches that let color do the talking. If you made a variegated skein, I love it in an easy accessory like a scarf. This pairs nicely with One Skein Infinity Scarf for Variegated Yarn.
And if your dye day inspires a bigger yarn adventure, browse the Yarn Crafts guide for more fiber fun.
FAQ
Can I dye superwash wool with food coloring?
Yes. Superwash often takes color very evenly. It can sometimes look brighter and a bit clearer in tone than non-superwash because the fibers are smoother.
Will the color bleed later?
If dye exhausts well and you rinse until the water runs clear, bleeding is usually minimal. Deep, saturated shades are the most likely to crock or bleed a bit at first. I recommend washing the finished item separately the first time and keeping it out of harsh sun if you want the color to stay crisp.
Can I use apple cider vinegar?
You can, but it may add a faint tint or smell. Plain white vinegar is the most predictable.
Do I need to add salt?
No. Salt is more common in some other dye approaches, but with food coloring on protein fibers, vinegar and heat are the key players.
Can I do this in the microwave instead of on the stove?
You can, but microwaves heat unevenly and can create hot spots that increase felting risk. Stovetop gives you steadier control, especially when you are learning.