Not sure whether to use superwash or untreated wool? Compare feel, stitch definition, growth, pilling, felting, and real-life washing tips—plus how to swatch...
Weaving In Ends for Slippery Silk and Wool

Published
The fastest way to make a project feel “homemade in the best way” is neat finishing. The fastest way to make it feel “homemade in the stressful way” is an end that sneaks out the first time you wear it.
I learned this the hard way with a silky summer top: I wove in ends the same way I would for wool, wore it once, and a little tail popped out like it was waving hello. Different fibers behave differently, and the secure method is all about matching your weave to the yarn’s personality.
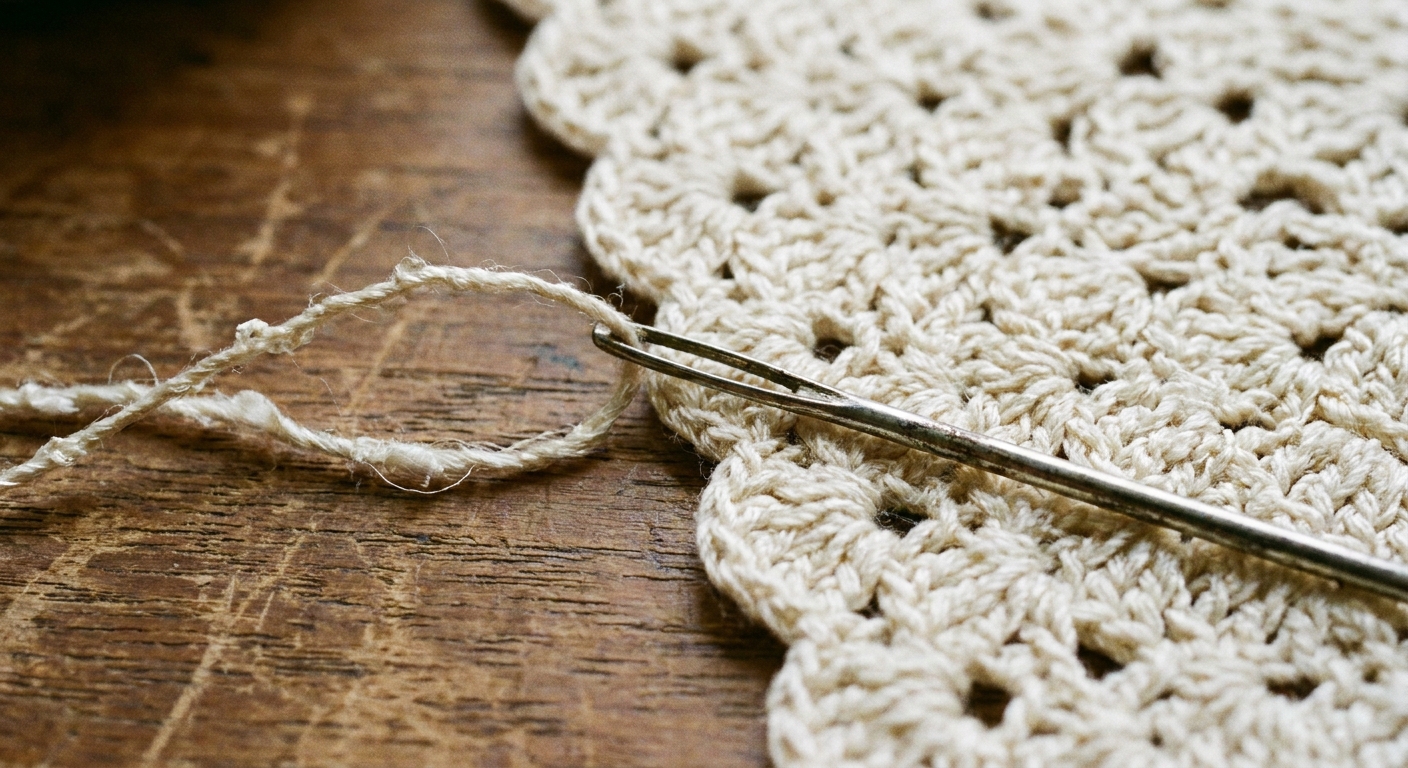
Why ends behave differently
Before you pick a technique, it helps to know what you are fighting.
- Slippery fibers (silk, bamboo, rayon, many mercerized cottons): smooth, low friction, and happy to slide right back out of the path you made. Clues include high sheen, a tight twist, and that “cool, slick” feel as it runs through your fingers.
- Grippy fibers (rustic wool, non-superwash wool, blends with a little halo): higher friction, slightly fuzzy or toothy, and more likely to snag, tangle, or gently mesh with neighboring strands over time. Some will felt a bit, but I do not count on felting as my only security.
- Stretchy fibers (wool, alpaca blends): tails can rebound after blocking or wearing, so a too-short tail can creep out even if it felt secure at first.
- Superwash wool: usually smoother than non-superwash and can behave halfway between wool and silk. It still grips better than silk, but it deserves more security than rustic wool.
If you want a quick refresher on fiber behavior, my overview on wool vs acrylic yarn for sweaters can help you predict how a fabric will relax after washing and wearing.
3 rules for secure weaving
1) Leave a real tail
I know it is tempting to snip close. For most projects, I leave 4 to 6 inches (10 to 15 cm). For slippery yarns, I lean closer to 6 to 8 inches (15 to 20 cm).
2) Change direction at least twice
A tail woven in a straight line can work itself loose like pulling a ribbon out of a gift wrap seam. Direction changes create friction points.
3) Weave through structure, not just space
Try to pass the needle under actual strands of stitches, not only between posts. You want the tail to share tension with the fabric.
Best methods for silk and bamboo
With silk and bamboo, I assume the yarn is innocent until proven slippery. If it is shiny, tightly twisted, mercerized, or it glides like dental floss, I treat it as slippery from the start.
Method A: Split-ply weaving
This is the technique I reach for when I do not want surprises later.
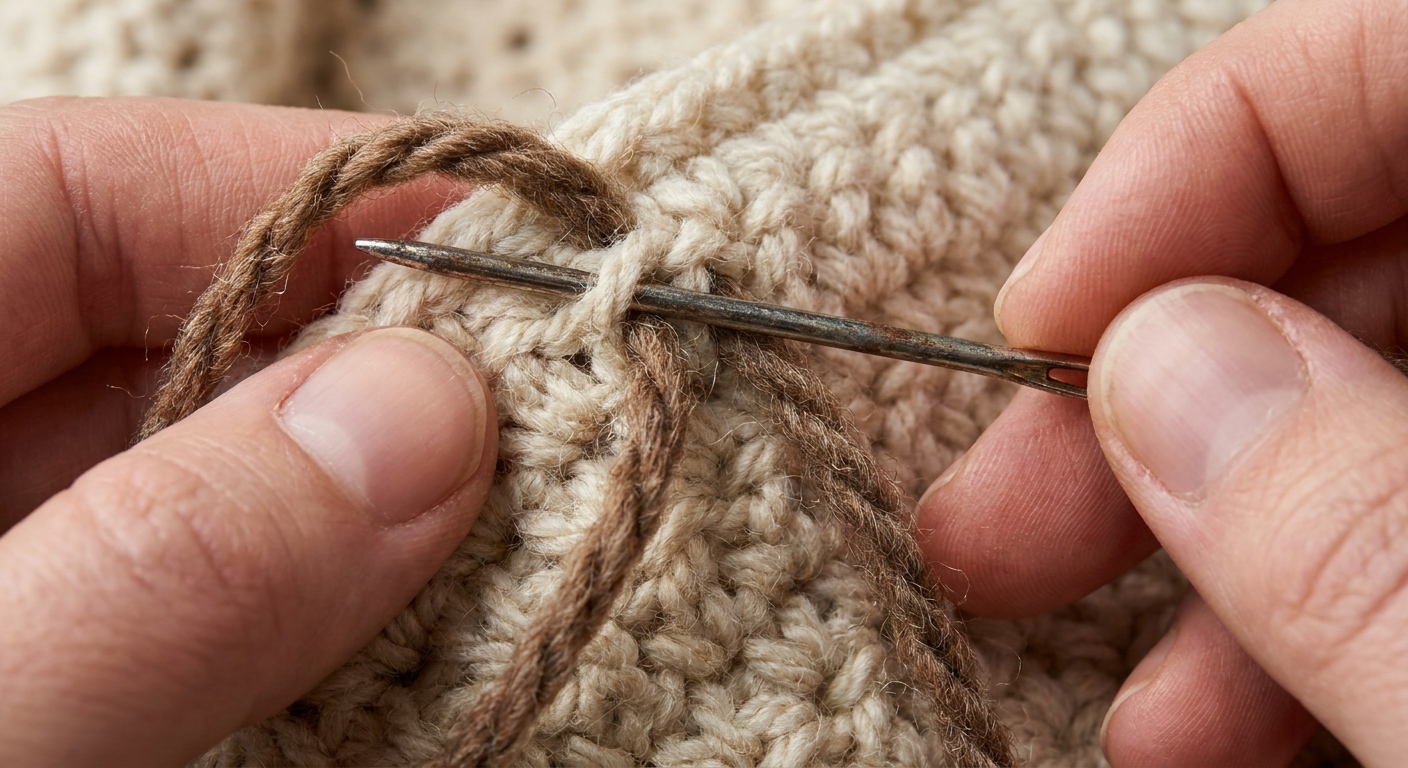
- Thread a tapestry needle with your tail.
- On the wrong side, weave under 3 to 5 stitches in one direction, following the grain of the fabric.
- Split the yarn tail into 2 thinner plies (only if the yarn separates easily). Many silk yarns are tightly plied, cabled, or slippery enough that splitting turns into a frustrating fuzz-fest. If it will not split cleanly, skip splitting and use Method B instead.
- Weave ply one back in the opposite direction under 3 to 4 stitches.
- Weave ply two in a slightly different path, again changing direction.
- Gently tug to settle the tail into the fabric, then trim close.
Why it works: splitting increases surface area and creates more micro-friction. Even slick fibers have a harder time sliding when they are divided and redirected.
Method B: Tiny backstitch lock
Think of this as sewing the end into the fabric instead of simply hiding it in the tunnels. I use it for very smooth yarns, single-ply yarns, or anything that refuses to split.
- Weave the tail under 3 to 4 stitches.
- Make a tiny backstitch: insert the needle back into the fabric only about 1 stitch-width away from where it came out, then bring it forward again.
- Repeat that tiny back-and-forth 2 to 3 times, staying on the wrong side.
- Weave another 2 to 3 stitches away from the lock, then trim.
Tip: Keep the stitches tiny. Big sewing stitches can show on the right side, especially in open lace.
Method C: Zigzag in the bars
This works beautifully in half double crochet, double crochet, and similar row-based fabrics. It is easiest along the row ends (the selvage) where you can clearly see the horizontal bars, but you can also do it across the wrong-side bars behind stitches in the middle of the fabric.
- On the wrong side, identify the horizontal bars created by stitch tops and turning chains.
- Weave under 3 to 4 bars to the left.
- Drop down one row and weave under 3 bars to the right.
- Drop down one row and weave under 2 to 3 bars to the left.
- Trim.
Why it works: the zigzag distributes pull over multiple rows, so the tail cannot migrate as easily.
When I add a knot
I do not rely on knots alone, but for ultra-slick yarns, I will sometimes tie a small, snug square knot between the working yarn and tail only if it will live on the wrong side and never rub skin. Then I still weave in using Method A or B. The weave is the security. The knot is a seatbelt backup.
Best methods for wool
Wool’s grippiness is a gift, but it can also make you overconfident. Wool ends can look secure, then pop out after blocking if they were not given enough runway.
Method D: Duplicate stitch weave
Duplicate stitch means you follow the path of the yarn already in the fabric, essentially hiding the tail inside existing stitches.
- Thread the tail.
- On the wrong side, choose a column of stitches and follow the yarn path through the stitch bodies for 4 to 6 stitches.
- Change direction and follow another nearby path for 3 to 4 stitches.
- Trim.
Where it shines: amigurumi, tapestry crochet, single crochet fabric, and anywhere you want the end to fully disappear.
If you enjoy tapestry-style fabrics, you may also like my tapestry crochet mug rug pattern, which is a great place to practice invisible finishing.
Method E: Gentle felt-and-lock (non-superwash only)
This is optional, but it can be wonderfully secure for items that will be handled a lot, like mittens or slippers.
- Weave in the tail normally first (I like 2 direction changes).
- With a tiny bit of water on your fingers, very lightly rub the wrong-side area where the tail lives.
- You are not trying to felt the fabric. You are encouraging a little fiber migration so the tail grabs.
- Let it dry completely before trimming any fuzz.
Caution: It is easy to overdo this and distort stitches, especially in lighter-weight yarns. If you are unsure, test the rubbing pressure on a swatch or an inside seam area first.
Important: Do not do this with superwash wool. It will not lock reliably, and you can distort stitches for no benefit.
Method F: The long wool weave
For grippy wools, length is your best friend. I weave under 6 to 10 stitches total, with at least two turns. Wool forgives the extra bulk far better than slick plant fibers.
Fiber cheat sheet
| Fiber | What can go wrong | Most secure approach |
|---|---|---|
| Silk | Tail slides out over time | Split-ply weaving if it splits cleanly (Method A) or tiny backstitch lock (Method B), plus 2 direction changes |
| Bamboo / rayon | Very slick and drapey, ends can peek | Tiny backstitch lock (Method B) or zigzag bars (Method C) with a longer tail |
| Mercerized cotton | Stiff-smooth, tails can work loose | Zigzag bars (Method C) plus a longer tail and extra direction change |
| Rustic non-superwash wool | Ends can still creep after blocking if too short | Duplicate stitch (Method D) or long weave, optional gentle felt-and-lock |
| Superwash wool | Smoother than expected, less grab | Duplicate stitch plus extra direction change, longer tail |
| Halo blends (mohair blends) | Ends can look messy if trimmed too soon | Weave long, let the halo settle after wash, then trim carefully |
Where to hide ends
In seams and edges
If your project has a seam, that is prime real estate. The seam area is thicker and experiences less stretch than the center of a motif.
Along high-friction zones
Cuffs, waistbands, and ribbing-adjacent areas (even in crochet) tend to hold ends better because the fabric is denser.
Avoid open lace and high-drape panels
This is especially true for silk and bamboo garments. If the fabric is airy, you may literally see the tail shadowing through.
When I am planning a project, I often note “end zones” the same way I plan stitch counts. If you like that sort of calm prep, you will probably enjoy making a project card before starting crochet.
Joins and color changes
Joins are where ends love to escape, especially in slick yarns. My rule is simple: treat join tails like they are under extra stress.
- Leave longer tails at joins: I go for 6 to 8 inches (15 to 20 cm) in silk, bamboo, rayon, and mercerized cotton.
- Weave both tails in different directions: If you have an “old yarn tail” and a “new yarn tail,” do not weave them side by side along the same path. Give them separate routes so they do not create one slippery tunnel.
- For frequent color changes: duplicate-stitch style weaving (Method D) is my favorite in dense fabrics, because it hides color changes cleanly and locks the tails inside the structure.
If I am working something like a lightweight summer garment, I also try to place joins where the fabric is denser or less visible. A drapey pattern like my breathable bamboo summer tank top crochet pattern is a perfect example of where smart join placement makes finishing easier.
Splitty yarn tips
Bamboo and some cottons can split while you weave, which makes finishing feel like trying to sew with cooked spaghetti.
- Switch tools: If the tapestry needle keeps snagging, try weaving shorter passes with a smaller needle, or use a small crochet hook to pull the tail under bars and through stitch backs.
- Do not fight the twist: Weave in the direction the stitches want to open. If you feel the needle shredding strands, change angle and take a shorter route.
- Use the fabric’s “backbone”: In taller stitches, aim for the sturdier bars behind the stitch, not the loose spaces between posts.
If splitting is driving you up the wall, my general troubleshooting guide on stopping yarn splitting translates well to crochet finishing too.
Common mistakes
Cutting the tail too close
Fix: If you already trimmed and it is popping out, use a sharp needle to pull the tail to the wrong side, then weave what you have in a different direction. If the tail is extremely short, you may need to secure it with a tiny matching sewing thread whipstitch on the wrong side.
Weaving only once
Fix: Unthread and re-weave. Seriously. It is annoying for 60 seconds and wonderful forever.
Weaving on the right side
Fix: Turn the work and keep the needle traveling through the interior of stitches on the wrong side whenever possible.
Ends showing after blocking
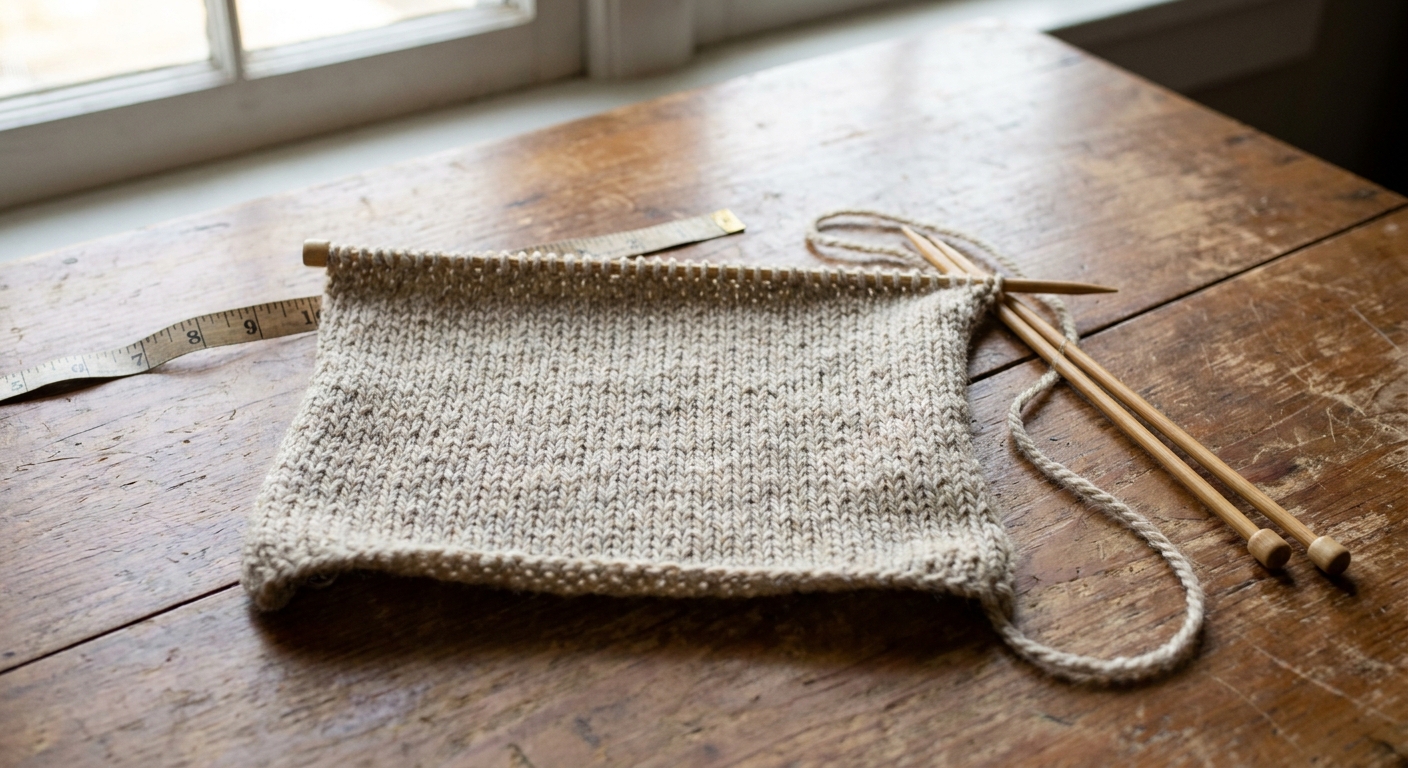
Fix: Block first, then do a final tail trim. Blocking can relax stitches and change where the tail wants to sit. If you want a blocking refresher, see how to knit and block a gauge swatch. The blocking principles are the same mindset for crochet: wet fabric changes, so finish after it settles.
Mini FAQ
How long should I wait to trim ends?
If I am blocking, I weave in, block, let it dry, then do a final tidy trim. For wool, the fibers often fluff and settle after washing. For silk and bamboo, the fabric relaxes and can reveal a tail that felt hidden before.
Should I weave in ends before or after seaming?
If the seam will cover the end, I usually weave after seaming so I can hide tails directly inside that thicker seam allowance area.
Do I ever use fabric glue?
I do not use glue on wearables or washables. It can stiffen, discolor, and eventually flake. A good weave is softer, more durable, and repair-friendly.
A quick security test
Before I snip, I do two quick tests:
- Tug test: hold the fabric with one hand and give the tail a gentle, steady pull with the other. Nothing should shift or pucker.
- Scrunch test: scrunch the fabric the way it will move in real life (especially for cuffs, socks, hats). If a tail tip tries to surface, weave a little farther and add another direction change.
Finishing should feel like the final deep breath at the end of a project. A few extra minutes here means you get to wear and wash your piece without that tiny fear of ends escaping.