
How to Knit and Block a Gauge Swatch

The fastest way to turn a dreamy knit into a "why does this sleeve reach my fingertips" moment is to skip the gauge swatch. I get it. Swatching feels like homework when all you want is to cast on. But after fifteen years of knitting and crocheting, I have learned one stubborn truth: a blocked, measured swatch is the closest thing we have to a crystal ball for garment fit.
This guide walks you through knitting a proper gauge swatch, washing and blocking it the same way you will treat the finished garment, and measuring it accurately so your yarn behaves exactly as expected.
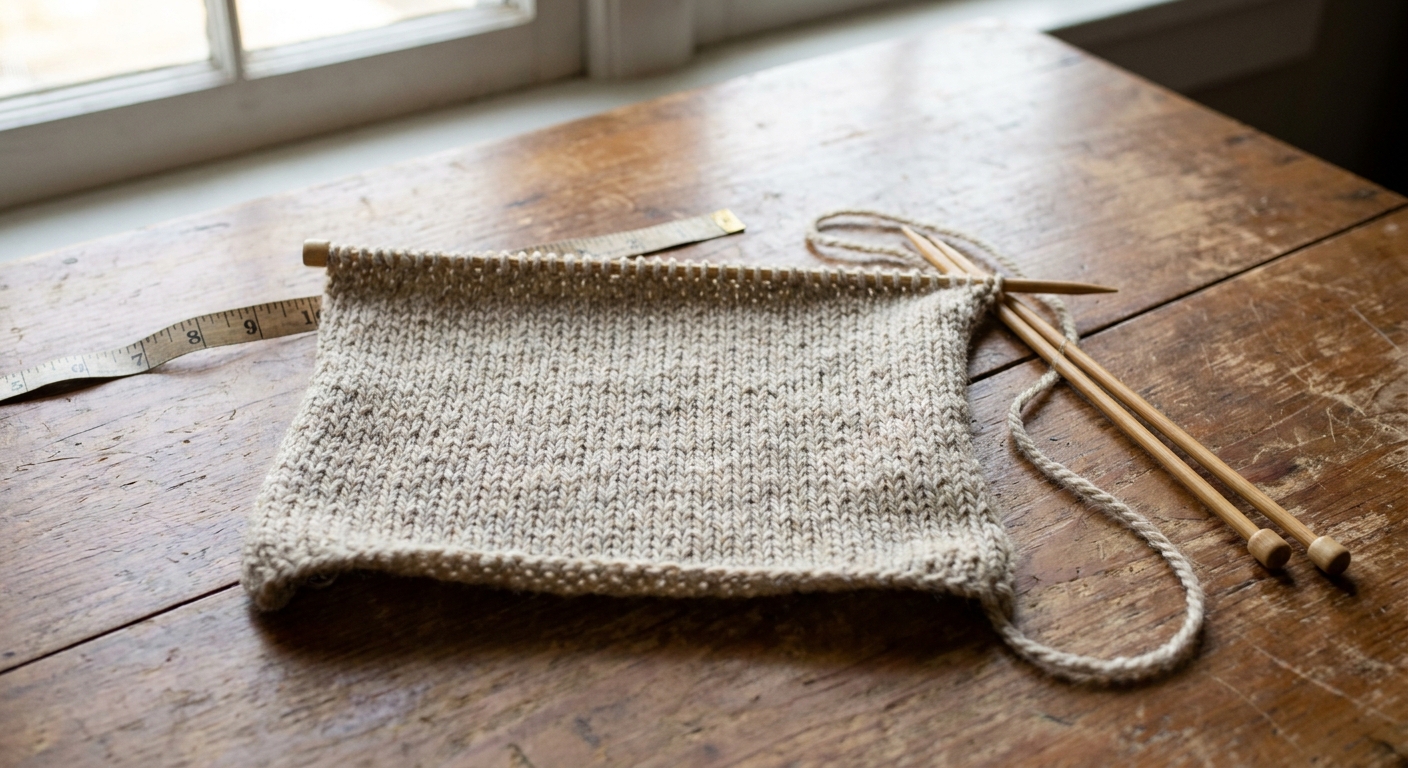
What gauge really means (and why blocking matters)
Pattern gauge is a measurement of stitches and rows per 4 inches or 10 cm in a specific stitch pattern, using a specific needle size, after the fabric has been treated the way the designer intended (usually washed and laid flat to dry).
Blocking matters because many fabrics change once they relax:
- Wool often blooms and can grow a bit, especially in length.
- Cotton and bamboo can relax and lengthen, sometimes noticeably.
- Acrylic may relax slightly after washing and can be permanently altered by heat.
- Highly textured stitches (ribbing, cables, lace) change dramatically when washed and smoothed out.
If you measure unblocked knitting, you are measuring a fabric that has not finished becoming itself yet.
Supplies you need
- Pattern yarn (or your chosen substitute)
- Needles in the size the pattern calls for, plus one size smaller and one size larger if possible
- Two to four stitch markers or safety pins
- Tapestry needle (for weaving in ends)
- Ruler or measuring tape (a rigid ruler can be easier for accuracy)
- Blocking supplies: a towel and rustproof pins or blocking wires if needed
- Spray bottle or basin for washing, depending on how you will launder the garment
If you like to keep projects organized, my method is to jot swatch notes on a card and keep it with the yarn. I explain how I do that in Make a Project Card Before Starting. It is written for crochet, but the habit translates beautifully to knitting.
Step 1: Read the pattern gauge carefully
Before you cast on, look for four key details:
- Stitch pattern used for gauge (stockinette, rib, lace chart, colorwork)
- Measurement unit (usually 4 inches or 10 cm)
- Stitches per unit (for width)
- Rows per unit (for length)
If the pattern gives gauge in a stitch pattern that is not plain stockinette, swatch in the pattern stitch. A lace shawl swatched in stockinette will lie to you.
Step 2: Cast on enough stitches (bigger than you think)
A common swatching mistake is knitting a swatch that is exactly 4 inches wide. Edge stitches distort, and your measurement will be off. You want a swatch with a roomy, stable middle section.
A good rule of thumb
- Aim for at least 6 inches (15 cm) wide and 6 inches (15 cm) tall after blocking.
- Cast on enough stitches to create at least 2 extra inches (5 cm) beyond the gauge measurement.
Quick cast-on math
If the pattern gauge is 20 stitches per 4 inches, that is 5 stitches per inch. For a 6 inch swatch, you would want about 30 stitches, plus a few for edges. I typically add 4 to 8 extra stitches so I can measure a clean center.
Tip: For stockinette swatches, I like to add a simple garter border (3 to 4 stitches on each side and 3 to 4 garter rows at top and bottom) to reduce curling. Do not measure into that border.
Step 3: Knit the swatch like you will knit the garment
Gauge is about matching the fabric you will actually produce. So try to mimic the real project conditions:
- Use the same needle material (wood, metal, bamboo) if possible. Your tension can change between slick metal and grippier wood.
- Use the same knitting style (English, Continental, lever). Switching styles changes tension.
- Work in the round if the garment is in the round. Many knitters purl looser or tighter than they knit, which changes flat gauge.
If you need to swatch in the round
You have two good options:
- Option A: Make a small tube (join in the round, knit several rounds, then cut and lay flat for washing).
- Option B: "Fake" in-the-round swatch by knitting across the right side, sliding stitches back to the start, and carrying the yarn loosely across the back. This avoids purling while mimicking knit-round tension.
Either way, keep the fabric large enough to measure the center accurately.
Step 4: Bind off, weave in ends, and label it
Bind off in a normal, relaxed way. Then weave in your ends. I know it feels silly to weave in ends on a swatch, but loose ends can tug during washing and subtly change your measurements.
Next, label your swatch. The easiest way is to tie a small loop of yarn through a corner and attach a note that includes:
- Yarn name and fiber content
- Needle size and needle type
- Stitch pattern used
- Date (optional, but helpful if you are a serial swatcher like me)
Step 5: Wash and block the swatch the same way you will treat the garment
This is the heart of honest gauge. Treat the swatch exactly as the finished piece will be treated in real life.
If the garment will be hand washed
- Soak the swatch in lukewarm water with a small amount of wool wash or gentle soap.
- Let it sit 10 to 20 minutes.
- Rinse if needed, then squeeze out water gently. Do not wring.
- Roll in a towel and press to remove excess water.
If the garment will be machine washed
Machine wash the swatch on the cycle you plan to use, then dry it the same way you plan to dry the garment (laid flat, tumble dry low, etc.). If you are planning to machine wash a sweater, you want to know before you cast on if that yarn grows, twists, or pills under the conditions you will actually use.
Blocking basics
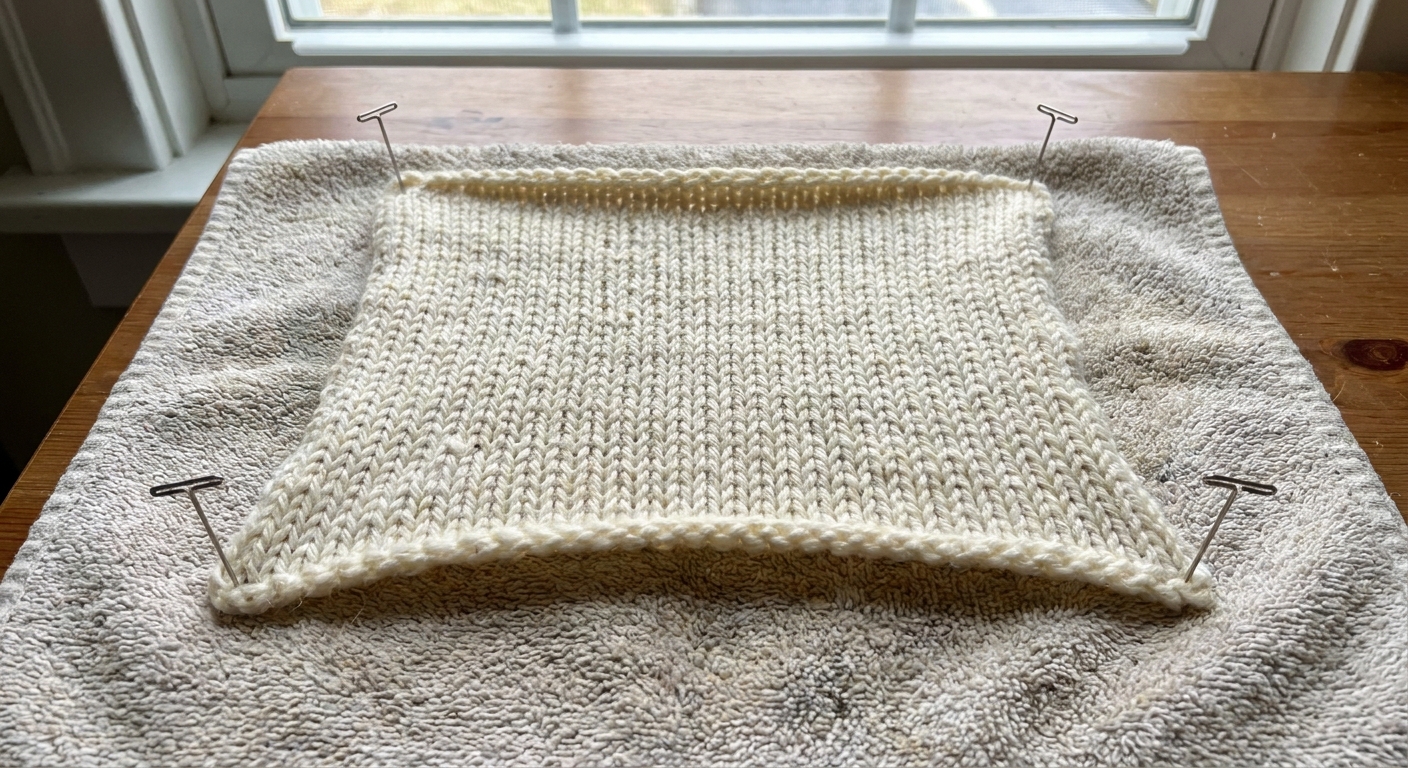
Lay the damp swatch flat on a towel or blocking mat. Smooth it gently into a natural square or rectangle. For most sweaters in stockinette, I block by smoothing and patting into shape, not by stretching aggressively.
Pin only if needed (lace, edges that insist on rolling, or any stitch pattern that must open up). Then let it dry completely.
Step 6: Measure stitches and rows correctly
When the swatch is completely dry, it is time to measure.
Where to measure
- Measure in the center of the swatch, away from edges, cast-on, and bind-off.
- Avoid any garter border or edge stitches.
How to measure stitch gauge (width)
- Place your ruler on the fabric without stretching it.
- Use stitch markers or pins to mark a 4 inch (or 10 cm) span in the center.
- Count how many stitches fit between the markers.
- If you land in the middle of a stitch, count fractions. Accuracy matters.
How to measure row gauge (height)
- Mark a 4 inch (or 10 cm) vertical span in the center.
- Count rows between the markers by tracking the little "V" columns and the horizontal bars between them.
- Count carefully, and again include partial rows if needed.
My favorite measuring trick: If your fabric is busy, count over 2 inches, then multiply by 2. Or count over 8 inches, then divide by 2. Measuring over a larger area often improves accuracy.
What to do if your gauge is off
This is the part where I want you to take a deep breath. Missing gauge is normal. It is not a skill issue, it is simply information.
If you have too many stitches per 4 inches (your fabric is too tight)
- Go up a needle size and swatch again.
- Or, try relaxing your grip and letting the yarn flow more freely through your fingers.
If you have too few stitches per 4 inches (your fabric is too loose)
- Go down a needle size and swatch again.
- Or, check if you are unintentionally stretching the fabric while knitting or measuring.
If stitch gauge matches but row gauge does not
This is extremely common. Stitch gauge controls width, which is usually the most critical for fit. Row gauge affects length and shaping. Your options depend on the pattern:
- If the pattern is top-down or has try-on points: you can often adjust length as you go (add or subtract rounds or rows).
- If the pattern has precise vertical shaping: row gauge matters more, and you may need needle adjustments, pattern math, or a different yarn.
If blocking changed everything
That is exactly why we block the swatch. If your swatch grew a lot, consider:
- A smaller needle size
- A yarn with more bounce (often woolier fibers)
- Pattern adjustments to account for growth, especially in length
Common gauge swatch mistakes (and easy fixes)
- Swatch is too small: Knit a bigger one so you can measure the center accurately.
- Measured before drying: Always measure fully dry fabric.
- Swatched flat for an in-the-round project: Swatch in the round to match your real tension.
- Stretched the fabric while measuring: Lay it flat and let it rest naturally.
- Used a different needle type than the project: Switching from bamboo to metal can change gauge.
- Ignored row gauge entirely: At least check it so you know whether you will need to adjust length later.
A simple gauge record you can reuse
I keep a little log for each garment swatch. You can write it anywhere, but these are the notes that consistently save me time later:
- Pattern gauge requirement (stitches and rows)
- My blocked gauge result
- Needle size used
- Any comments ("grew in length," "fabric too drapey," "soft but splits")
If you want more knitting skill builders on the site, visit the Knitting guide. And if you are working on a project with cuffs or ribbing, you might also like my breakdown of cast-on methods for stretchy socks and ribbed cuffs, since a great cast-on and accurate gauge tend to go hand in hand for a comfortable fit.
FAQ
Do I really need to swatch if I am between sizes?
Yes, and especially then. Being between sizes is where gauge has the biggest impact. If your gauge is even slightly off, the difference between sizes can disappear or double.
Can I steam block my swatch instead of washing?
Only if you plan to steam the finished garment and never wash it, which is rare. Steam can relax fibers differently than washing. Acrylic in particular can be permanently changed by heat, so be cautious.
Should I block ribbing and measure it stretched or relaxed?
Follow the pattern guidance if given. If not, measure ribbing in a relaxed state without stretching, after washing and drying. Ribbing is meant to pull in, so a relaxed measurement is usually the most useful reference.
How many swatches is "too many"?
For garments, I often do two: one on the suggested needles and one size up or down depending on the first result. If the fabric feel is not right, I would rather swatch a third time than knit an entire sweater I do not love wearing.