
Crisp Crochet Snowflake Ornaments: Thread Size and Starching

I have crocheted a lot of snowflakes over the years, and I can tell you exactly when they start to look “heirloom” instead of “cute but floppy.” It is almost never the pattern. It is thread choice plus a firm blocking and starch routine that locks those points into place.
This is the cozy little secret of crisp snowflake ornaments: the thread does the fine detail, and the starch does the engineering.
Choose a thread size that matches the look you want
Crochet thread sizes can feel backward at first because the bigger the number, the thinner the thread. For snowflakes, thinner thread generally gives sharper, more lacy definition. Slightly thicker thread gives a bolder ornament that reads well from across the room.
Quick thread sizing cheat sheet
| Thread size | Best for | Finished look | My notes |
|---|---|---|---|
| Size 3 | Fast ornaments, sturdy points | Bold lace | Great for beginners or if your hands dislike tiny hooks. |
| Size 5 | Classic ornament size | Crisp, defined | My “sweet spot” when making a set for gifting. |
| Size 10 | Traditional delicate snowflakes | Fine lace, intricate | Most common for patterns. Starch makes it shine. |
| Size 20 and finer | Mini ornaments, heirloom lace | Airy and detailed | Beautiful, but needs patience, bright light, and strong blocking. |
Hook size: aim for firm stitches
Patterns often recommend a hook, but for ornaments I almost always go a touch smaller than I would for a doily. You want the stitches snug so the points do not wobble even before starching. That said, hook sizes vary by brand, thread type, and your personal tension, so treat these as common starting ranges, then adjust.
- Size 3 thread: often around 2.25 to 3.25 mm
- Size 5 thread: often around 1.75 to 2.25 mm
- Size 10 thread: often around 1.25 to 1.75 mm
- Size 20 thread: often around 0.75 to 1.0 mm
If your snowflake looks holey and limp, go down a hook size. If it is so tight you cannot see the stitch definition, go up.
Fiber matters more than you think
If you want crisp points that last, fiber choice helps. Here is what I have found after many seasons of pulling ornaments out of storage:
- Mercerized cotton thread: the gold standard for snowflakes. It has a little sheen, resists fuzzing, and takes starch beautifully.
- Non-mercerized cotton: perfectly usable, just slightly softer and more matte.
- Linen thread: can be stunning and very crisp, but it is less forgiving on tension and can feel stiff on the hands.
- Acrylic “crochet thread”: it exists, but it tends to look less sharp and can relax over time. If you use it, plan on a stronger starch and careful storage.
Before you starch: wash, then block
Starch sets the shape you give it. So we need to give it the right shape first.
Step 1: Weave in ends, then wash
I like to weave in ends before washing and blocking. It keeps the finish tidy, and the yarn tails settle into place as the piece dries.
Even clean hands leave oils, and oils make starch less effective. I do a quick soak:
- Soak the snowflake in lukewarm water with a tiny drop of mild soap for 10 to 15 minutes.
- Rinse well in cool water.
- Press in a towel to remove excess water. Do not wring or twist.
Step 2: Pin it into a true snowflake shape
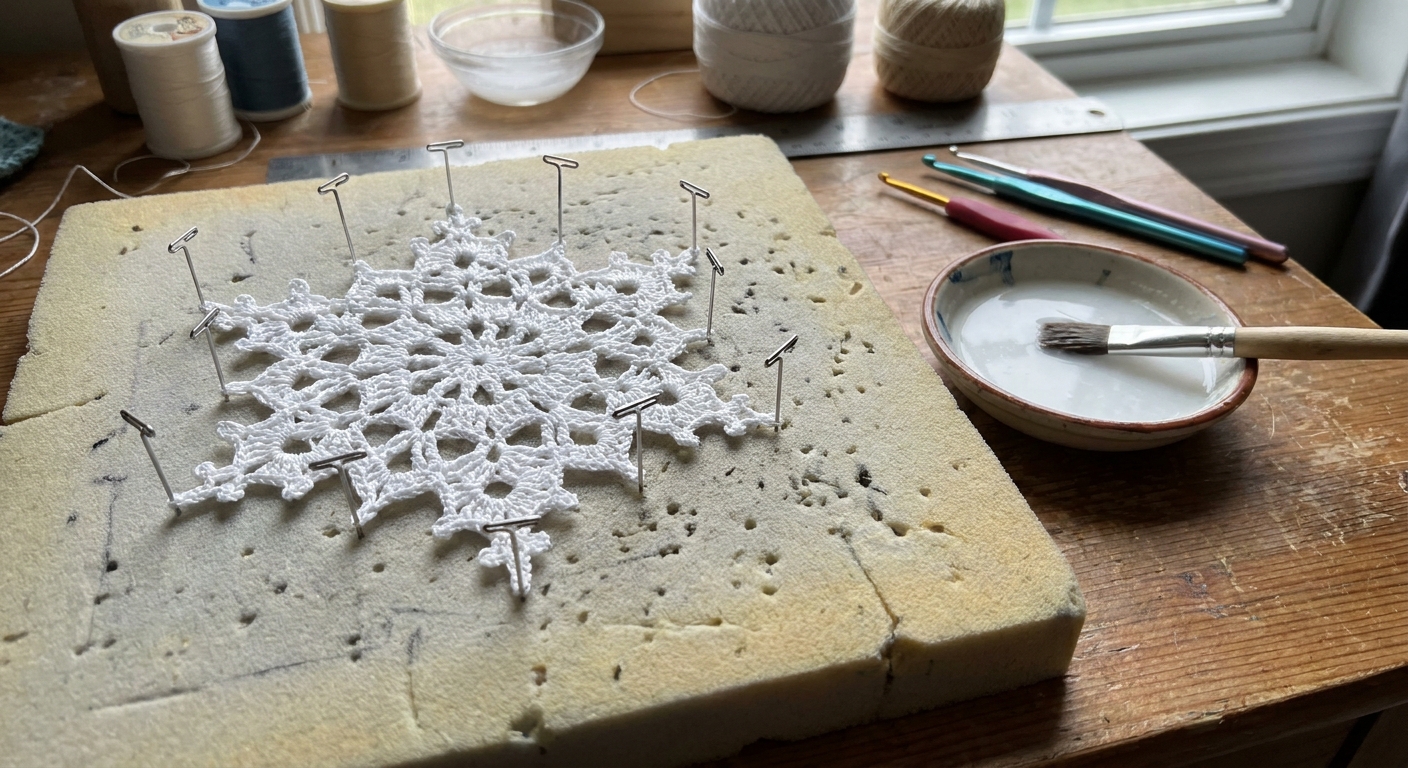
This is where the magic happens. Use a blocking board, foam mat, or thick piece of cardboard covered with a clean towel. Stainless steel pins are best if you will be working with moisture for a while.
- Start by pinning the center so it sits flat.
- Pin the tips of each point, pulling them to equal length.
- Then pin the “valleys” between points so the edges look crisp, not scalloped.
- For very spiky designs, add a second pin partway down each point to keep the sides straight.
If you want a consistent set of ornaments, measure one finished snowflake (tip to tip) and block the rest to match.
One practical note: put wax paper or a plastic sheet under your work if you are blocking on cardboard or a surface you care about. Stiffener drips happen.
If you enjoy this kind of prep work, you might like my habit of planning the details before you begin. I use the same approach for thread projects, too: Make a Project Card Before Starting Crochet.
Natural stiffeners that dry crisp
There are plenty of starch products out there, but when you want a natural, reliable finish, three options come up again and again: cornstarch, sugar, and gelatin. Each behaves a little differently.
If you prefer the convenience of a store bought spray starch, it can work for lightly crisp snowflakes. For ornaments that need sharp points and long-term structure, I still reach for a dip stiffener.
Method 1: Cornstarch (my everyday choice)
This one dries crisp, looks clean, and does not leave a shiny film if you mix it properly.
What you need
- Cornstarch
- Water
- Small saucepan
- Bowl for dipping
Mix ratios
- Light hold: 1 teaspoon cornstarch to 1 cup water
- Medium hold: 2 teaspoons cornstarch to 1 cup water
- Heavy hold: 1 tablespoon cornstarch to 1 cup water
How to do it
- Whisk cornstarch into cold water until smooth.
- Heat gently, whisking, until the liquid turns translucent and thickens slightly.
- Let it cool to warm room temperature.
- Dip the snowflake, saturating it fully.
- Squeeze out extra stiffener between your fingers so it is damp, not dripping.
- Re-pin the snowflake into shape and let it dry completely.
Rinse your pan promptly. Cornstarch residue sets up fast once it cools.
Method 2: Sugar (the stiffest hold, but choose storage wisely)
Sugar can dry very hard, which is wonderful for sharp points. The tradeoff is that sugar is hygroscopic, so in humidity it can feel tacky or soften. It can also be appealing to pests. If you live somewhere damp or you store ornaments in a garage or attic, I would pick cornstarch or gelatin instead.
What you need
- Granulated sugar
- Water
Mix ratios
- Firm hold: 1 part sugar to 1 part water
- Extra firm hold: 2 parts sugar to 1 part water
How to do it
- Heat water and sugar just until the sugar dissolves. Do not boil hard or you risk a sticky syrup.
- Cool to warm room temperature.
- Dip, squeeze out excess, and pin to dry.
Method 3: Gelatin (clear and crisp)
Gelatin dries clear and can give a neat, “clean” stiffness without the slightly powdery feel cornstarch can sometimes leave. It is also a good choice for very fine thread snowflakes. In my experience, it is often less affected by humidity than sugar, but it can still soften if it gets damp.
What you need
- Unflavored gelatin
- Water
Mix ratio
- Good starting point: 1 teaspoon gelatin to 1 cup hot water
How to do it
- Sprinkle gelatin over a small amount of cool water to bloom for a minute.
- Add hot water and stir until fully dissolved.
- Cool until warm, then dip the snowflake.
- Squeeze gently, pin firmly, and let dry completely.
My extra-stiff tip: starch twice
If you want a snowflake that holds up to years of handling, do a two-pass finish. Stiffeners are reversible with moisture, but this makes the result noticeably longer-lasting.
- Block and stiffen once, let it dry.
- Unpin, flip it over, dip again quickly, re-pin, and dry again.
This second pass helps the stiffness penetrate evenly and prevents one side from looking softer.
Drying and unpinning
Let it dry longer than you think
Snowflakes feel dry on the surface before the center is fully dry. If you unpin too early, points curl back like they are trying to remember being yarn again.
- Rule of thumb: give it at least overnight.
- Humid days: 24 hours is not excessive.
How to avoid curled tips
- Pin the tip of each point and at least one pin along the side of longer points.
- Make sure your stiffener is not overly diluted. Curling often means the hold is too light.
- Do not overdip then drip-dry. Always squeeze out excess so the stiffener layer is even.
If you accidentally made it crunchy and blotchy
It happens. Especially the first time you cook cornstarch.
- Soak the snowflake in cool water for 10 minutes.
- Rinse, press in a towel, and start again with a smoother batch.
Finish it as an ornament
Once it is fully dry and unpinned, you have a few easy finishing options:
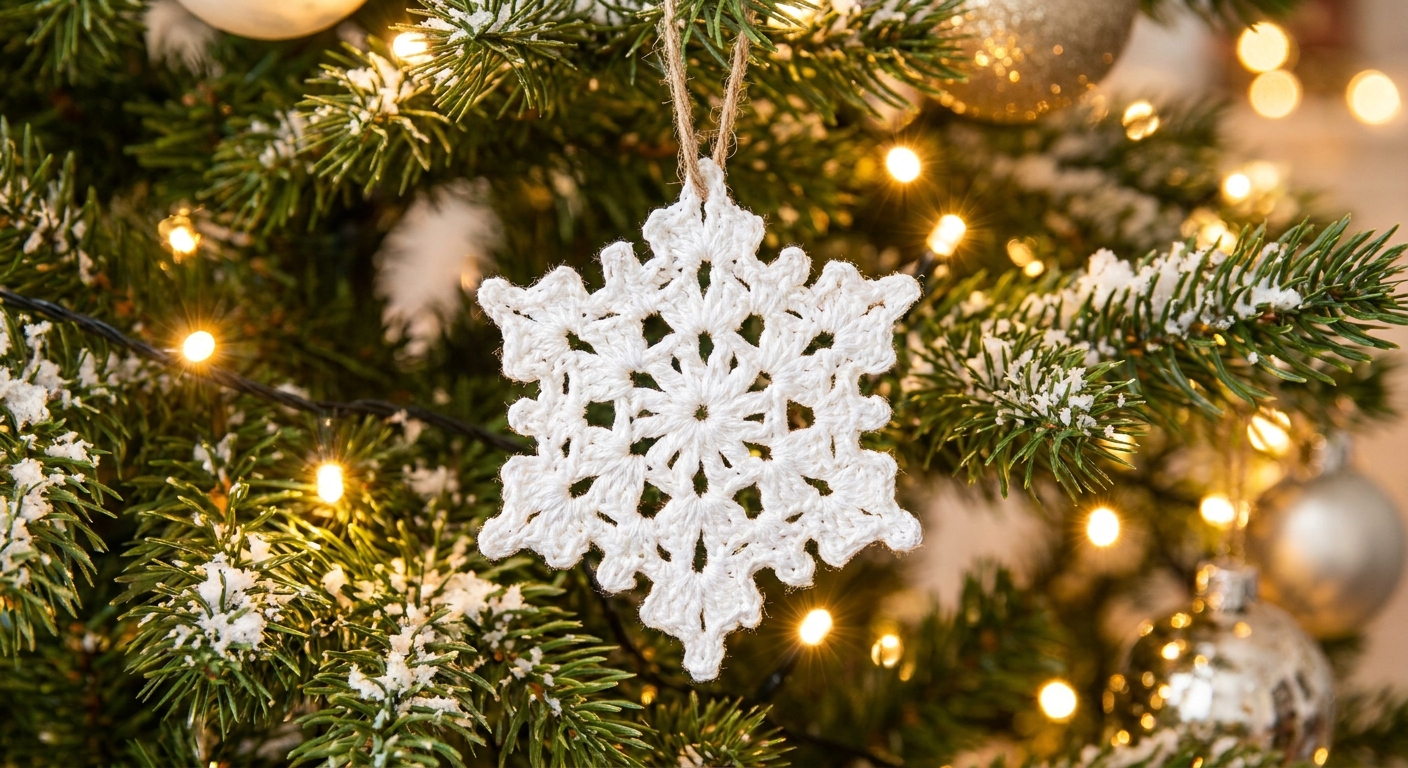
- Simple hanger: thread a loop of sewing thread or metallic cord through an open stitch near the top point and knot securely.
- Invisible hanger: use clear nylon thread and keep the knot on the back side.
- Beaded center: sew a small bead or a few seed beads at the center after stiffening. I prefer sewing after stiffening so the bead does not get coated.
Storage tips
Snowflakes are tougher than they look, but crisp points can still get crushed in a crowded ornament box.
- Store flat between sheets of tissue paper in a rigid box.
- If you stack them, stack only a few and keep larger snowflakes on the bottom.
- Keep them dry. Stiffeners and humidity are not best friends.
Troubleshooting
“My snowflake won’t lie flat no matter what.”
Usually this is one of three things: uneven tension, too-large hook, or not enough pins. Try a smaller hook next time, and add pins at the valleys between points. Blocking is not just pinning the tips.
“The points look rounded instead of sharp.”
Use a heavier stiffener mix and pull the points firmly when pinning. If you are working in a softer cotton, consider moving down one thread size or switching to mercerized cotton for a crisper edge.
“It feels stiff, but it still droops when hung.”
Dipping can stiffen the surface without stiffening the structure if you do not fully saturate the piece. Make sure the snowflake gets completely wet with stiffener, then squeeze out the excess and re-pin.
“It turned slightly yellow.”
This can happen with sugar over time, or if starch is overheated and cooked too long. Rewash and switch to cornstarch or gelatin, mixing gently and heating only as much as needed.
A simple workflow for a set
If you are making multiple ornaments, this is the rhythm that keeps it enjoyable:
- Crochet all snowflakes first.
- Weave in ends and wash them together.
- Block and pin a batch.
- Mix one bowl of stiffener and dip each one.
- Let dry overnight.
- Add hangers the next day with a cup of tea and a good show.
For more seasonal projects and finishing ideas, you can browse our holiday crafting hub here: Holiday Crafts Guide.