
10 Easy Cotton Amigurumi Ideas for Beginners

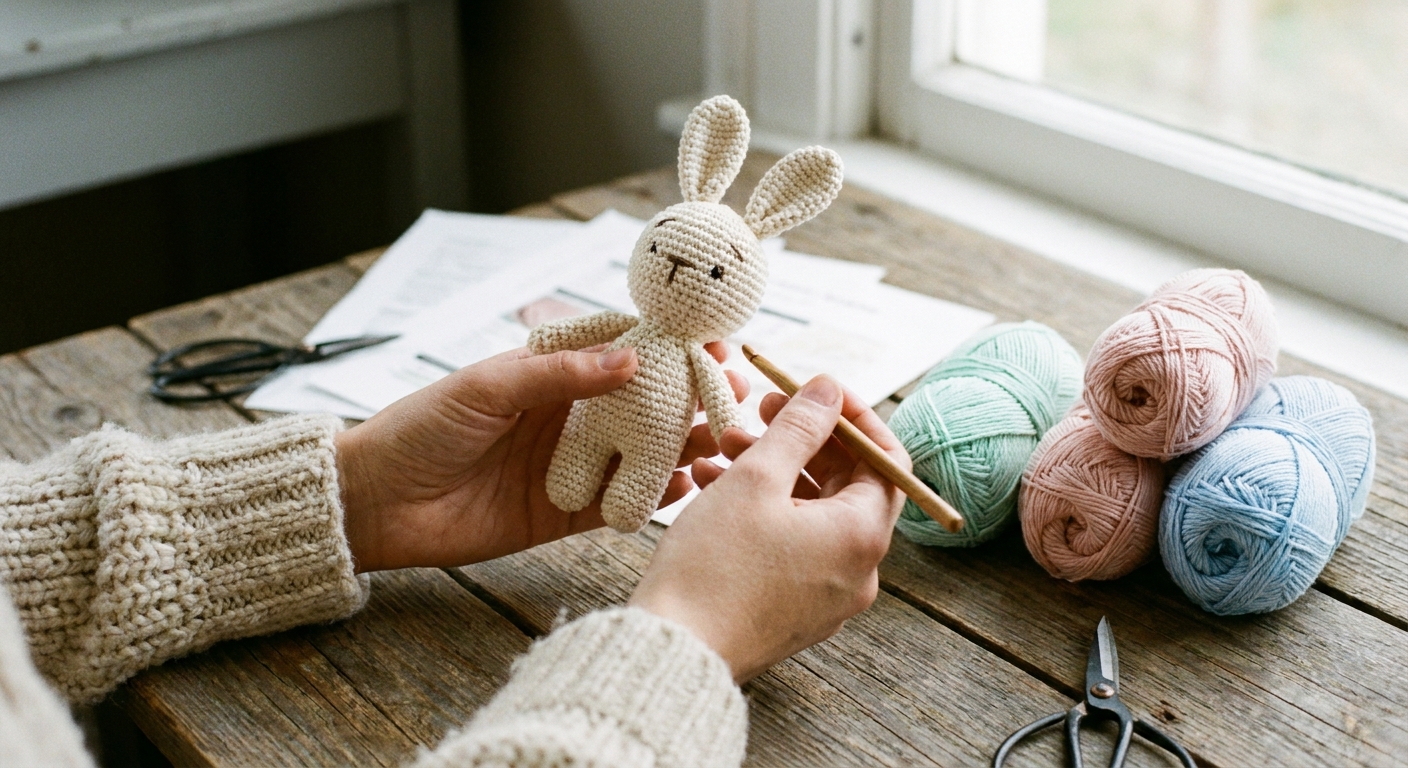
I still remember the first time I tried amigurumi. I was so proud of my little ball-shaped “creature” until I realized one eye was higher than the other and the stuffing was trying to escape through my stitches. If that sounds familiar, you are in the right place.
Amigurumi is mostly a handful of basic stitches repeated in the round: single crochet, increases, decreases, and usually a magic ring to start. The real magic is in the details: tidy increases, neat color changes, and placing tiny features exactly where you want them. That is why I love recommending smooth cotton yarn to beginners. It makes it easier to see your stitches, count rounds, and sew on those finishing touches without the yarn fuzz fighting you.
Why cotton yarn helps with amigurumi
Cotton tends to halo less than many acrylics and wools. For small shapes, that matters more than you might think.
- Crisp stitch definition: You can clearly see the V-shapes of single crochet, which makes counting rounds and spotting missed increases much easier.
- Firm fabric for stuffing: Amigurumi needs a dense fabric so stuffing does not peek through. Cotton often holds that structure nicely.
- Clean details: Embroidery for smiles, cheeks, and tiny toes sits on top of cotton neatly instead of disappearing into fuzz.
- Great for practice: When you frog and rework (and you will, because we all do), cotton lets you see exactly what changed.
One honest trade-off: cotton has less bounce than wool or acrylic, and it can feel a little harder on the hands during long sessions. If your hands tire easily, take more breaks, loosen your grip, or consider a smooth cotton blend that feels softer while still showing stitch detail.
If you are brand new to reading crochet patterns, you might enjoy my walkthrough in Guide to Crochet Patterns before you start. It makes the abbreviations and round-by-round instructions feel a lot less mysterious.
Picking cotton yarn for your first toy
- Choose smooth and tightly plied: A firm, multi-ply cotton is usually less splitty and gives you those clean stitches beginners love.
- Mercerized or not: Mercerized cotton is often shinier and very crisp. Unmercerized can feel softer. Either can work, but for learning, I lean toward the smoother option you can see clearly.
- Start with a light solid color: Pastels and lights make it much easier to count rounds than charcoal or heavily mottled yarn.
- Avoid fluffy or loosely spun cotton at first: Some cottons can fuzz or look a bit “hairy,” especially after frogging. Save those for later when you are not relying on stitch clarity.
Quick cotton setup
A beginner-proof yarn and hook pairing
- Yarn: Smooth worsted or DK cotton (a solid, light color helps you see stitches while learning).
- Hook: Start about 1 to 2 sizes smaller than the yarn label suggests to get a tight fabric, then adjust. For many worsted cottons, that ends up somewhere around 3.0 to 4.0 mm, but your hands and your yarn get the final say.
- Stuffing: Polyester fiberfill is easiest to start with.
- Needle: A blunt tapestry needle for sewing pieces and weaving ends.
A quick gap check
Before you commit to a whole toy, crochet a tiny test circle or mini ball and stretch it gently. If you can see daylight (or imagine stuffing showing), go down a hook size or tighten your tension. This one small step saves so much frustration.
Two tension tips that solve many beginner problems
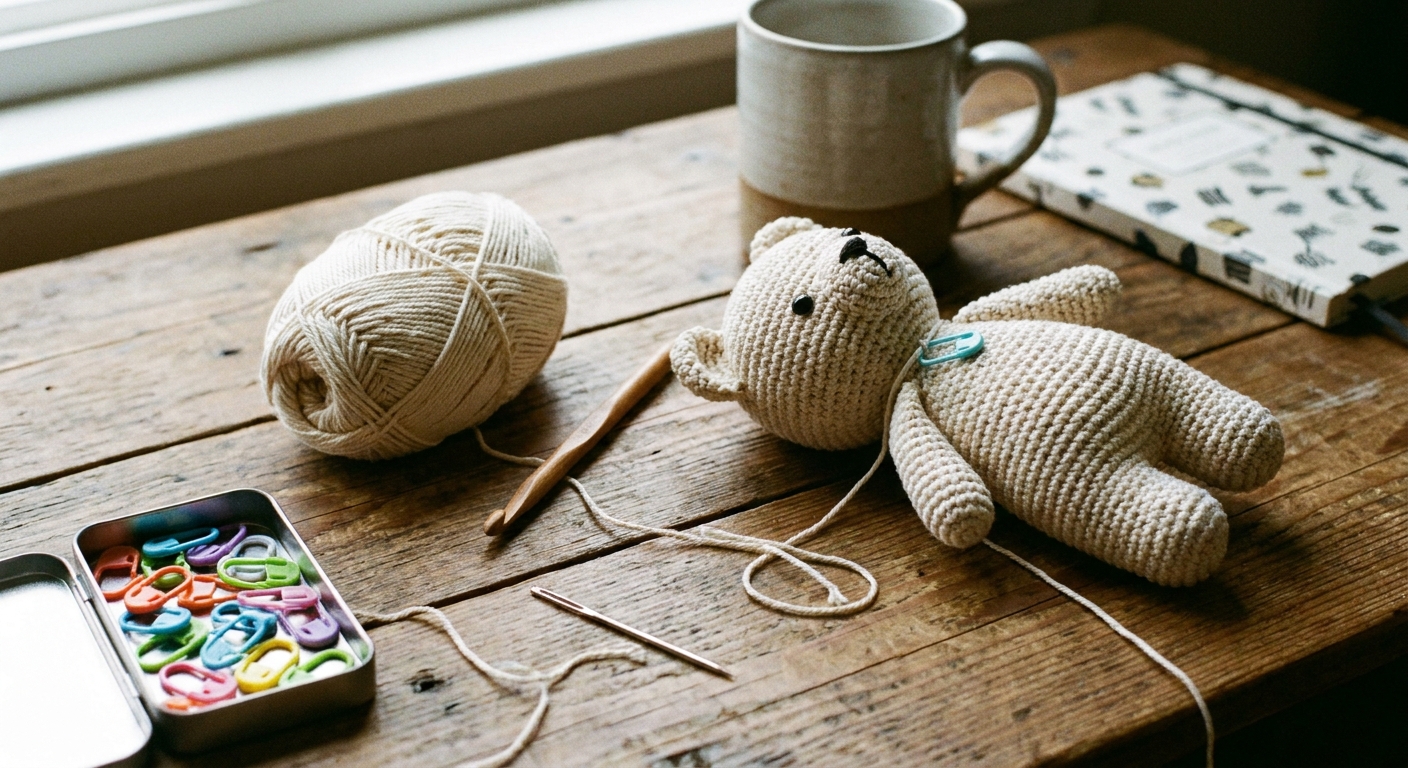
- Use a stitch marker and move it every round. Cotton makes stitches easy to see, but it is still easy to lose your place without a marker.
- Stuff in small pinches. Overstuffing creates lumps and can stretch your stitches so the stuffing shows. Add stuffing gradually and shape as you go.
I also love using a little planning card before I start a toy, especially if I am swapping yarn weights or changing hook size. It keeps my notes in one place: Make a Project Card Before Starting Crochet.
10 beginner amigurumi pattern ideas for cotton
Quick clarification before we dive in: these are pattern ideas (the kinds of beginner-friendly designs to look for), not linked step-by-step patterns. I picked them because they are simple shapes, have minimal sewing, and the details look especially crisp in cotton.
1) The Classic Sphere Buddy
What it is: A simple ball with tiny arms and legs (or no limbs at all). Add eyes and a stitched smile.
- Why it is beginner-friendly: It teaches the core amigurumi skill set: increase, even rounds, decrease.
- Why cotton helps: Your increase pattern is easy to track and count because the stitches are so clear.
- Skill focus: Invisible decreases and even stuffing.
2) No-Sew Mini Whale
What it is: A tiny whale made from one main piece, with a small fin or tail detail worked directly onto the body.
- Why it is beginner-friendly: Minimal parts means less sewing and fewer alignment headaches.
- Why cotton helps: The curved shaping looks smooth and defined, even at small scale.
- Skill focus: Shaping with increases and decreases.
3) Cupcake with a Frosting Top
What it is: A cupcake base plus a frosting “hat,” finished with embroidered sprinkles.
- Why it is beginner-friendly: Two basic cylinders and a decorative topper. Easy to customize colors.
- Why cotton helps: Embroidered sprinkles and edging stitches sit neatly on the surface.
- Skill focus: Working in continuous rounds and simple surface embroidery.
4) Tiny Octopus
What it is: A round head with tentacles made from curled chains or spirals.
- Why it is beginner-friendly: Tentacles are repetitive and forgiving, and placement is flexible.
- Why cotton helps: Spirals hold their shape and look tidy instead of fuzzy.
- Skill focus: Consistent tension on chains and simple increases.
5) Little Mushroom
What it is: A rounded cap and a stem, sewn together, with cute dots or spots.
- Why it is beginner-friendly: Two chunky shapes, straightforward assembly.
- Why cotton helps: Colorwork details like spots look crisp, and the cap shaping stays structured.
- Skill focus: Sewing two pieces evenly and centered.
6) Chubby Bee
What it is: A plump oval with simple wings and stripes worked as color changes.
- Why it is beginner-friendly: Stripes teach clean color changes without complicated shaping.
- Why cotton helps: Stripes look sharp and the fabric stays firm.
- Skill focus: Changing colors in single crochet rounds.
7) Simple Cat Head Keychain
What it is: A round head with tiny triangle ears and embroidered whiskers.
- Why it is beginner-friendly: It is small, quick, and only a couple parts.
- Why cotton helps: Embroidered whiskers and a little nose look extra clean.
- Skill focus: Placing facial features symmetrically.
8) Dumpling Plush
What it is: A rounded pillow-like dumpling with a pinched top and a happy face.
- Why it is beginner-friendly: Very simple shaping, big stitches, and forgiving proportions.
- Why cotton helps: The pinched “pleat” detail reads clearly instead of blurring.
- Skill focus: Closing openings neatly and shaping with stuffing.
9) Baby Turtle
What it is: A domed shell and a simple body, joined together with small flippers.
- Why it is beginner-friendly: The shapes are basic, and you can simplify by making the flippers very small or crocheting them on.
- Why cotton helps: Shell texture like back loops or a simple ridge pops beautifully.
- Skill focus: Working through back loops for texture.
10) Tiny Penguin
What it is: A small oval body with a contrasting belly patch and a little beak.
- Why it is beginner-friendly: Mostly one main piece, plus a flat patch you can sew on slowly and neatly.
- Why cotton helps: The belly patch edges lie flatter and look more defined.
- Skill focus: Sewing appliques and placing features cleanly.
A quick safety note
If you are making toys for babies and toddlers (especially under 3), skip plastic safety eyes and small add-ons. I stick to embroidered eyes and facial features for little ones.
Beginner troubleshooting
My toy is turning into a hexagon
This usually means your increases are stacking in the same spots each round. If your pattern does not already stagger them, try this: after you finish a round, work a few extra single crochet stitches (2 to 4 is often enough) before you start counting the next round. It shifts where the increases land and helps round out the shape. Cotton makes those angles easy to see early, which is actually helpful.
I can see stuffing through my stitches
Go down a hook size, keep your tension snug, and stuff more gently. Cotton will show gaps clearly, so it is a great teacher here.
My rounds look slanted
That is normal in continuous rounds (a spiral). If you need stripes to line up neatly, look for patterns that use joined rounds, or learn an invisible join technique. For many beginners, I suggest embracing the spiral at first because it is simpler.
How to pick your first project
- If you want the fastest win: Classic Sphere Buddy or Dumpling Plush.
- If you want to practice details: Cat Head Keychain or Tiny Penguin.
- If you want something giftable: Chubby Bee, Baby Turtle, or No-Sew Mini Whale.
When you are ready to branch out into more themed makes, I keep seasonal project ideas gathered in Guide to Holiday Crafts. And if you decide to try fuzzy yarn later, my experience with it is in Crocheting Plush Valentine Hearts With Velvet and Chenille. Plush is fun, but cotton is the confidence builder.
My favorite finishing trick
Before you sew on eyes or embroider a face, lightly pin or clip your features in place and step back for a quick look from across the room. Cotton’s crisp stitches make it easy to aim for symmetry, but your eyes catch imbalance faster at a distance. Then commit with your needle.
Amigurumi is supposed to be joyful. If your first one is a little lopsided, congratulations. You made a toy with your own hands, and the next one will be even better.