
Classic Granny Square Blanket Pattern (Step by Step)

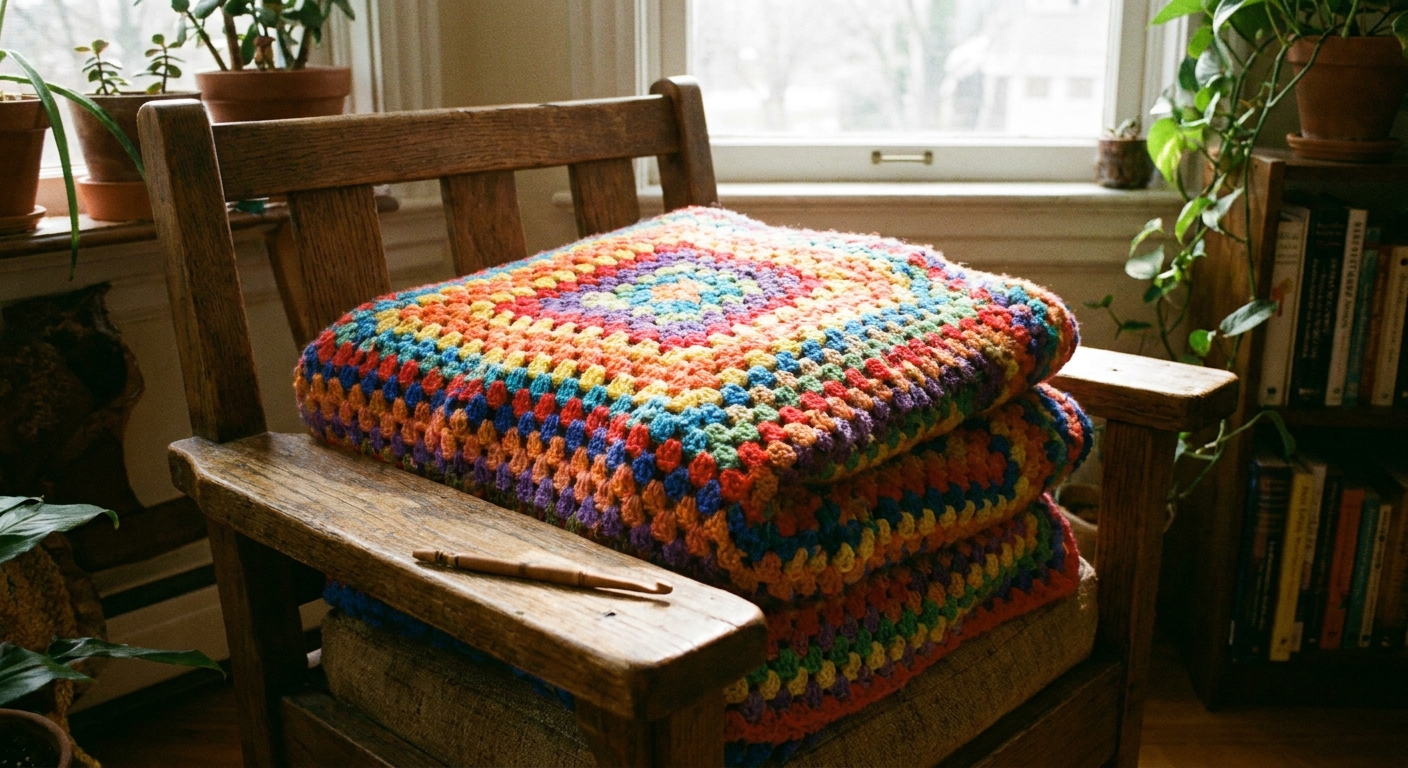
I learned to crochet granny squares the way a lot of us do: one slightly lopsided square at a time, turning it over in my hands and thinking, “How is this little thing going to become a blanket?” The magic is that it always does. The classic granny square is rhythmic, forgiving, and wonderfully portable. Once you have a steady square, you can make as many as you like, join them, then add a border until it feels finished and cozy.
This tutorial is written as a complete, measured pattern for a traditional granny square afghan, with options for sizing, color layout, and joining. Make it simple, make it scrappy, make it meditative. The square does not judge.
Before you start
Skill level
Adventurous beginner. If you can chain, slip stitch, single crochet, and double crochet, you are ready.
Abbreviations (US terms)
- ch = chain
- sl st = slip stitch
- sc = single crochet
- dc = double crochet
- sp = space
- st(s) = stitch(es)
Notes
- This is a traditional granny square: 3 dc clusters separated by chain spaces.
- Squares are worked in rounds, turning after each round for straighter edges.
- Corner spaces are ch-2 (classic and neat). If you crochet tightly, you can use ch-3 corners instead.
- The pattern is written for one square, then you will repeat for the blanket.
If you like having your projects organized from the first stitch, I also recommend making a simple plan card for your yarns, square count, and finished size. I walk through my approach here: Make a Project Card Before Starting Crochet.
Materials
- Yarn: Worsted weight (Category 4) is the most classic choice. Use one color, planned colors, or scraps in the same weight.
- Hook: 5.0 mm (H/8) is a reliable starting point for worsted weight. Adjust as needed to get a fabric you like.
- Notions: Scissors, tapestry needle, measuring tape, and stitch markers (optional but helpful).
Yarn amount (very rough estimates)
Exact yardage depends on hook size, tension, square size, joining method, and border width. If you need a starting point for shopping or stash planning, these ranges are intentionally roomy.
- Throw (about 50 x 60 in): often 1,800 to 2,600 yards total
- Twin (about 66 x 90 in): often 3,200 to 4,800 yards total
To make those numbers feel more real: an 8 in square throw arranged 6 x 8 squares (48 squares total), plus a modest border, often lands somewhere in that throw range for many crocheters.
If you are building from stash, choose a “main” color for your final round and border. That one detail can make even the scrappiest blanket look intentionally designed.
Size planning
You can make any blanket size by choosing (1) a square size you enjoy and (2) how many squares across and down.
Typical square sizes
- 5 to 6 in squares: faster joining, busier look
- 7 to 9 in squares: classic afghan scale
- 10 to 12 in squares: fewer squares, bold and graphic
Simple size math
Finished blanket width = (square width x number of squares across) + border on both sides
Finished blanket length = (square height x number of squares down) + border on both sides
Example: 8 in squares, 6 across and 8 down = 48 x 64 in before the border. Add a 2 in border all around and you land around 52 x 68 in. (That border adds about 4 inches total to width and length.)
My biggest real-life tip: crochet one square, block it, then measure. Granny squares are honest after blocking.
Two sample blanket recipes
If you want a concrete plan you can follow without doing any math in your head, here are two calm, classic layouts.
- Easy throw: Make 48 squares, each 8 in blocked. Arrange 6 across x 8 down. Join. Add a 2 to 4 in border.
- Simple twin: Make 108 squares, each 6 in blocked. Arrange 9 across x 12 down. Join. Add a 2 to 4 in border.
These are not the only “right” options. They are just reliable shapes that behave well on a couch or a bed.
Gauge and blocking
Granny squares are wonderfully forgiving, but they look their best when every square is the same size. If your squares vary even a little, blocking brings them into agreement.
A practical gauge example
With worsted weight yarn and a 5.0 mm hook, a classic granny square often comes out around 8 in blocked after roughly 8 to 10 rounds. This varies a lot by yarn and tension, so treat it as a ballpark, not a promise.
Quick blocking method
- Weave in ends for the square (or at least secure them well).
- Lightly mist with water or steam carefully (do not press acrylic with a hot iron).
- Pin each square to the same measurements on a blocking board or a towel marked with a ruler.
- Let dry completely.
If you have never blocked crochet before, start with 2 squares and compare them. It is one of those small steps that makes the whole blanket feel calmer.
Classic granny square pattern
Foundation: Make a magic ring, or ch 4 and join with sl st to form a ring.
Round 1
- Ch 3 (counts as first dc).
- Work 2 dc into ring (first 3-dc cluster made).
- Ch 2 (corner).
- Work (3 dc into ring, ch 2) three more times for a total of 4 clusters and 4 corners.
- Join with sl st to the top of beginning ch 3. Turn.
Optional: Sl st into the next 2 dc and into the first corner ch-2 sp to position your yarn for Round 2. Or, fasten off and rejoin in any corner space.
Round 2
In this round, each side is still “clean” and simple. You will have corners, and just one chain space between corners on each side.
- In any corner ch-2 sp: ch 3 (counts as dc), 2 dc, ch 2, 3 dc (corner made).
- Ch 1 (side space).
- In next corner ch-2 sp: work 3 dc, ch 2, 3 dc, then ch 1.
- Repeat Step 3 around.
- Join with sl st to the top of beginning ch 3. Turn.
Round 3 and beyond
From here on out, you will build the same structure every round: corners stay corners, and each new round adds more side chain spaces to fill.
Round template:
- In a corner ch-2 sp: (3 dc, ch 2, 3 dc).
- Ch 1.
- In each side ch-1 sp across to the next corner: 3 dc, ch 1.
- Repeat around.
- Join with sl st to the top of beginning ch 3. Turn.
Square size
Stop when the square is the size you planned. For many blankets, I like 6 to 9 rounds in worsted weight, depending on my hook and tension.
Fasten off
Fasten off with a tail long enough to weave in securely (or long enough to sew with, if you plan to whipstitch join).
Color planning
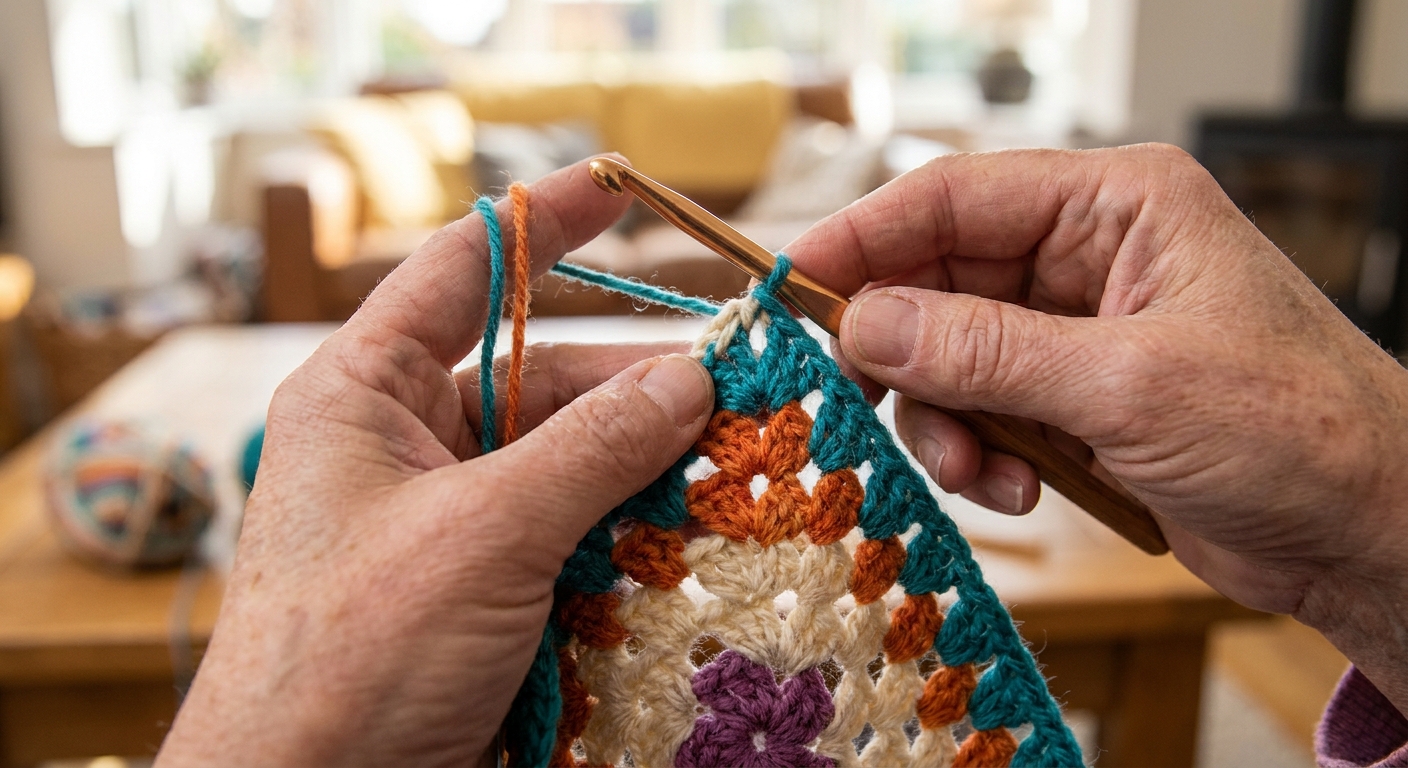
If color choices make you freeze, here are a few low-stress approaches that still look polished.
Option 1: Same last round
Use any colors you want inside, but make the final round of each square the same color. It creates instant cohesion.
Option 2: One family per square
Each square stays in one family (blues, greens, neutrals), then the blanket mixes the families across the layout.
Option 3: Planned repeat
Choose 4 colors and repeat them in the same order for each square. You can rotate where you start to keep it interesting.
Layout tip
Before joining, lay squares out on the floor or a bed and take a photo. A photo helps you spot clumps of the same color faster than your eyes do in real time.
Joining methods
Joining is where your blanket gets its personality. All three methods below are solid. The best one is the one you enjoy doing for an evening or two.
Method A: Whipstitch
Look: Nearly invisible seam, soft and flexible.
- Block squares to the same size.
- Place 2 squares with right sides together (or wrong sides together if you like the ridge on the front).
- Thread a tapestry needle with yarn (often your main or border color).
- Working through both loops of each edge stitch, whipstitch across.
- Repeat to create strips, then join strips.
Tip: If your edges feel holey, aim your needle under the two top loops of each dc on both squares. Consistency matters more than perfection.
Method B: Slip stitch join
Look: A tidy ridge, great for geometric blankets.
- Hold two squares with wrong sides together (right sides facing out).
- Insert hook through the outer loops only (front loop of the square closest to you and back loop of the square farthest from you).
- Sl st across the edge, keeping tension relaxed so the seam does not pucker.
Tip: Use a hook 0.5 mm larger for joining if your slip stitches tend to tighten up.
Method C: Join-as-you-go
Look: Integrated join, minimal finishing, satisfying momentum.
Make your squares normally until the final round. On the final round, you connect to a neighboring square at the spots where you would normally chain between clusters.
- Hold the new square next to the square you are joining to.
- When you reach a side ch-1 space where the squares should connect, work 3 dc in your current square as usual.
- Instead of ch 1, sl st into the corresponding ch-1 space of the neighboring square.
- Continue to the next connection point and repeat.
Spacing note: Some crocheters prefer sl st, then ch 1 to keep the spacing identical to unjoined sides. Both can work. The best choice is the one that matches your square tension without pulling or flaring. If you are unsure, test it with two squares before committing to a whole blanket.
Tip: Join-as-you-go is easiest when all squares are the same size and have the same stitch count per side. Block first if you are unsure.
Assembly plan
If you want the process to stay peaceful, assemble in stages:
- Make and block all squares.
- Lay out your arrangement. Take a photo so you can put it back the same way.
- Join into rows (or strips).
- Join the rows together.
- Add the border.
This is also the moment I like to weave in any remaining ends. A few ends at a time feels gentle. A hundred ends at once feels like a prank.
Simple border
This border is meant to flatten the outer edge and frame the squares cleanly. Use your main color, or a contrasting “picture frame” shade.
Border Round 1: Single crochet
- Join yarn with sl st in any corner space of the blanket.
- Ch 1, work sc evenly around the entire blanket.
- In each corner space, work (sc, ch 2, sc).
- Join with sl st to first sc. Turn.
Even sc tip: On straight edges with clear dc tops, placing 1 sc in each dc is a good default. On joined granny-square edges, you will also meet chain spaces and seam areas. Treat those like flexible landing spots: work sc into the next obvious gap, keep your stitches evenly spaced, and if one section starts to wave, use fewer sc there. If a section looks tight and starts to pull, add one extra sc in that stretch.
Border Round 2: Granny border (optional)
If you want the border to echo the squares, add a granny round.
- Sl st into the corner ch-2 space.
- Ch 3 (counts as dc), 2 dc, ch 2, 3 dc in corner space.
- Ch 1, then work 3 dc in the next available space between stitches (you can work into corner spaces and into the natural gaps that form between sc stitches).
- Continue around, working corners as (3 dc, ch 2, 3 dc).
- Join, fasten off, weave in ends.
Want it wider? Repeat this granny border round as many times as you like, or alternate sc rounds and granny rounds until the blanket feels finished.
Finishing and care
Weaving in ends
- Use a tapestry needle and weave through stitches in at least 3 directions.
- Split the yarn plies if possible for extra grip.
- For slippery acrylic, a longer weave path is your best friend.
Washing
Follow your yarn label. If you used mixed yarns from stash, treat the blanket like the most delicate fiber in the mix. When in doubt, cool water and gentle handling keep things safe.
Troubleshooting
My squares are turning into circles
This is almost always a corner issue. First, confirm that every corner is worked as (3 dc, ch-2, 3 dc) in the same corner space each round (not spread across stitches). Also confirm you are doing ch 1 between clusters, not extra chains. If your corners still feel tight, try ch-3 corners or loosen your corner chains. Blocking also helps a lot.
My squares are ruffling
This usually means too many stitches or too-loose tension. Check that you are doing ch 1 between clusters and not adding extra chains. If you are making very large squares, consider skipping a ch-1 between clusters on the sides every so often, but do it consistently.
My blanket is pulling at the seams
Your join might be too tight. For crochet joins, size up your hook. For sewn joins, do not yank the yarn snug. Aim for flat and flexible, not cinched.
My blanket edge is wavy
On the border, you may have too many stitches along one side. Rip back the border round and place sc more evenly, especially across places where multiple joins meet. Border rounds are the easiest to redo, and they are worth the calm edges.
More crochet help
If you enjoy patterns that build in simple, repeatable steps, you might like browsing our broader pattern guides here: Guide to Crochet Patterns. And if you are in a seasonal mood after you finish your squares, our craft guides live here: Guide to Holiday Crafts.
If you get halfway through and want to ask a specific question about sizing, joining, or border behavior, you can always reach me through our site contact page: Contact.