
Rustic Crochet Fall Pumpkins With Tweed Yarn

Every fall I end up with the same happy problem: my living room is already cozy, but I still want it to feel more cozy. That is exactly where these rustic crochet pumpkins come in. When you make them with tweed or heathered yarns, the fabric looks like it belongs in a farmhouse basket beside a stack of plaid blankets, even if you only crocheted it while half-watching a movie.
In this guide I will walk you through choosing autumn-toned textured yarns, crocheting simple ribbing that looks beautifully “store-bought,” and shaping the pumpkin so it sits nicely in a Thanksgiving centerpiece.
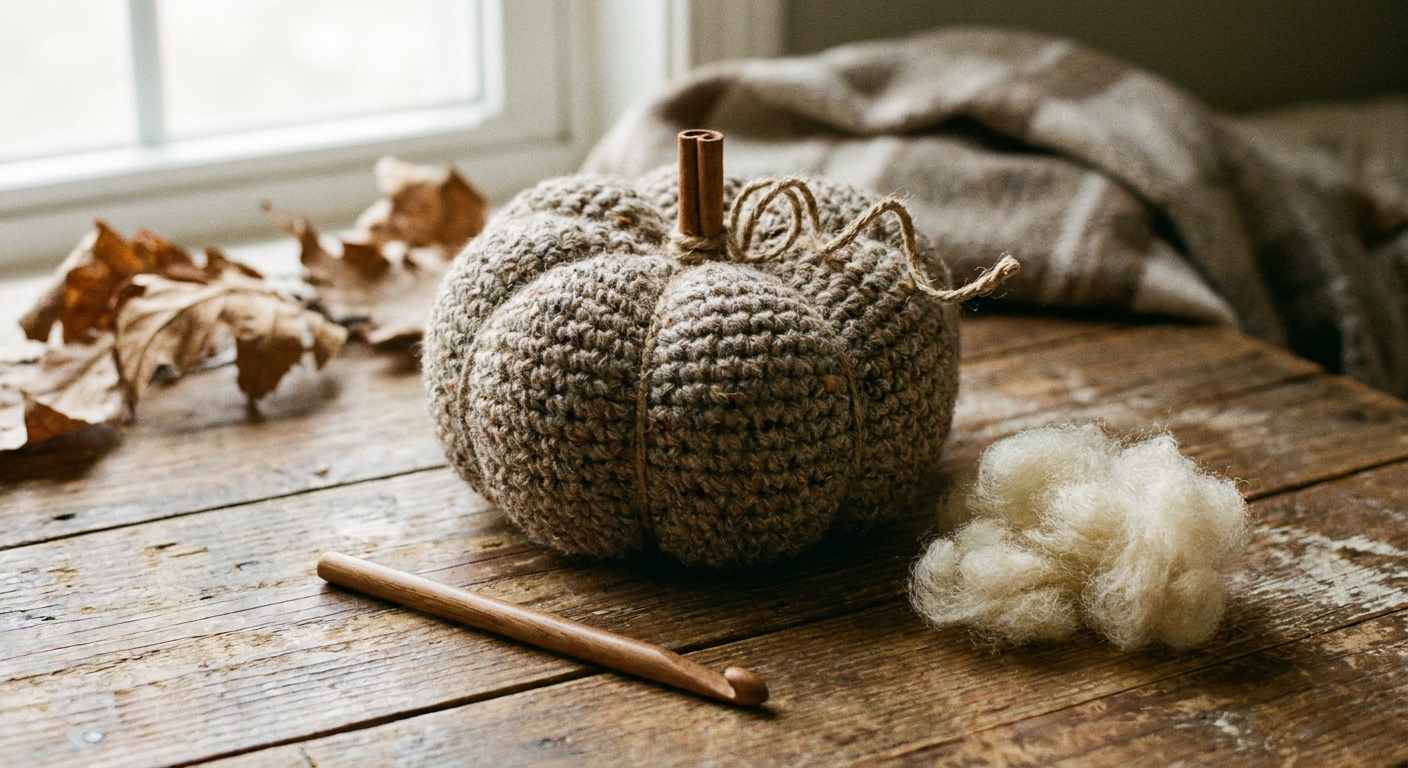
Why tweed and heathered yarns work for pumpkins
Tweed and heathered yarns do a little visual work for you. They create depth and speckling that hides minor tension wobble and makes basic stitches look extra-dimensional.
- Tweed: usually has little flecks of contrasting fiber. The flecks read like “fall leaves” to my eye, especially in oatmeal, rust, and olive bases.
- Heathered: blended tones (like brown mixed with charcoal, or mustard mixed with cream) that look gently worn-in and rustic.
- Matte finishes: tend to look more farmhouse than high-shine fibers. You can absolutely use acrylic, just aim for a less glossy one if you have options.
If you are still building confidence with yarn choices, my general yarn notes live in Yarn Crafts, and it can help to skim those basics before you shop your stash.
Best yarn picks (and what to avoid)
Yarn weight
You can make this pumpkin in almost any yarn weight. The “sweet spot” for centerpieces is typically worsted or bulky because it works up quickly and holds shape well.
- Worsted (medium #4): classic size, great stitch definition in ribbing.
- Bulky (#5): extra plush, fewer rows, very cozy.
- Super bulky (#6): fast and dramatic, but choose a yarn with decent structure so the ribs do not disappear.
Rustic fall color palette ideas
- Oatmeal, flax, wheat, mushroom
- Pumpkin, rust, terracotta, cinnamon
- Mustard, honey, goldenrod
- Sage, olive, deep forest
- Charcoal, warm gray, espresso
Textures that work especially well
- Tweed flecks: instant “autumn texture.”
- Heather blends: subtle dimension without looking busy.
- Roving-style yarns: can look gorgeous, but test first because they sometimes pill with heavy handling.
What to avoid (or at least approach carefully)
- Very fuzzy yarns: mohair-style halos can blur the ribs.
- Highly slippery yarns: some smooth cottons and shiny acrylics can make the pumpkin look a little too polished unless you love that look.
- Striping yarns: they can fight the ribbing visually. If you want variegation, heathered usually reads calmer.
Supplies
- Tweed or heathered yarn (amount depends on size, but one pumpkin is a great stash-buster project)
- Crochet hook appropriate for your yarn (I usually go 0.5 to 1 mm smaller than the label suggests for firmer fabric, which is roughly 1 to 2 hook sizes)
- Tapestry needle
- Scissors
- Stuffing (polyfill), or scrap yarn fabric pieces for a more weighty pumpkin
- Stem material: a short cinnamon stick, a piece of real twig, or crocheted stem
- Optional: jute twine for a rustic tie at the stem
Quick fabric note before you start: Aim for a dense fabric where stuffing will not show through. If you can see gaps between stitches when you gently stretch the ribbing, drop down a hook size.
If you like keeping your projects organized (especially when you are making a whole patch of pumpkins), I swear by writing down your hook size and row count before you start. I shared my exact habit here: Make a Project Card Before Starting Crochet.
Stitches and abbreviations
- ch = chain
- sc = single crochet
- sl st = slip stitch
- blo = back loop only
Key technique: crocheting sc in blo creates a stretchy ribbed fabric that cinches into pumpkin grooves beautifully.
Step by step: Ribbed rustic pumpkin
This method makes a rectangle first, then sews and cinches it into a pumpkin. It is simple, forgiving, and perfect for textured yarns.
Step 1: Pick a size
The easiest way to size is to think in two directions:
- Starting chain length = pumpkin height (top to bottom)
- Number of rows = pumpkin circumference
My go-to “small centerpiece pumpkin” in worsted yarn is often around 18 to 24 chains tall, then crocheted long enough to wrap around into a squat cylinder.
Step 2: Crochet the ribbed rectangle
- Ch your desired height (example: ch 21).
- Starting in the second chain from the hook, sc across. (20 sc in this example.)
- Ch 1, turn.
- Work sc blo across the row.
- Ch 1, turn and repeat sc blo every row until the rectangle wraps around comfortably when you bring the short ends together.
Lucy tip: If you want a more “farmhouse squat” pumpkin, make it wider (more rows). If you want a taller pumpkin, add chains at the start.
Step 3: Seam into a tube
Bring the short ends together, ribs lined up. Seam with a whip stitch using a tapestry needle, or sl st through both layers with your hook.
You now have a ribbed tube.
Step 4: Cinch the first end closed
- Thread a long yarn tail on your tapestry needle.
- Weave in and out around one open edge, catching the edge loops along the very top of the fabric (like a running stitch around the rim). Try not to stitch through the middle of the tube.
- Pull tight to cinch closed.
- Make a few securing stitches across the small opening and knot securely.
If you are using a very smooth yarn, do a second round of running stitches before pulling tight. Smooth yarns sometimes try to relax back open.
Step 5: Stuff firmly (but not rock hard)
Turn the pumpkin right side out if needed. Stuff it until it feels full and rounded, then pause and squeeze it a few times. This helps you find empty spots.
- More stuffing = rounder, plumper pumpkin
- Less stuffing = softer, more slouchy pumpkin
For centerpieces, I like “plump but squeezable.” Too firm can make the grooves harder to define.
Step 6: Cinch the top closed
Repeat the running stitch around the remaining open edge and pull tight to close. Secure with several stitches and knot firmly. Weave in the end.
Step 7: Make the pumpkin grooves
Cut a long strand of yarn (about 3 to 5 times the circumference of your pumpkin). Thread it on a needle and do this:
- Decide on your top center point and bottom center point (right in the middle of the cinched circles). Try to enter and exit in those same spots each time so your grooves stay even.
- Insert the needle at the top center and push it down through the center of the pumpkin (yes, through the stuffing), then come out at the bottom center.
- Pull snug and go back up to the top center again, dividing the pumpkin into sections.
- Repeat 5 to 7 times, spacing the strands evenly around the pumpkin.
Each pass creates a groove. Pull snug but not so tight that the yarn disappears into the fabric. When you like the shaping, knot securely at the top and bury the tail.
Texture note: Depending on the yarn, tweed flecks can snag a bit as you pull shaping strands. Go slowly and “massage” the yarn into place rather than yanking.
Step 8: Add a stem
Pick the look you love:
- Cinnamon stick stem: push into the top center and secure with a few hidden stitches around it.
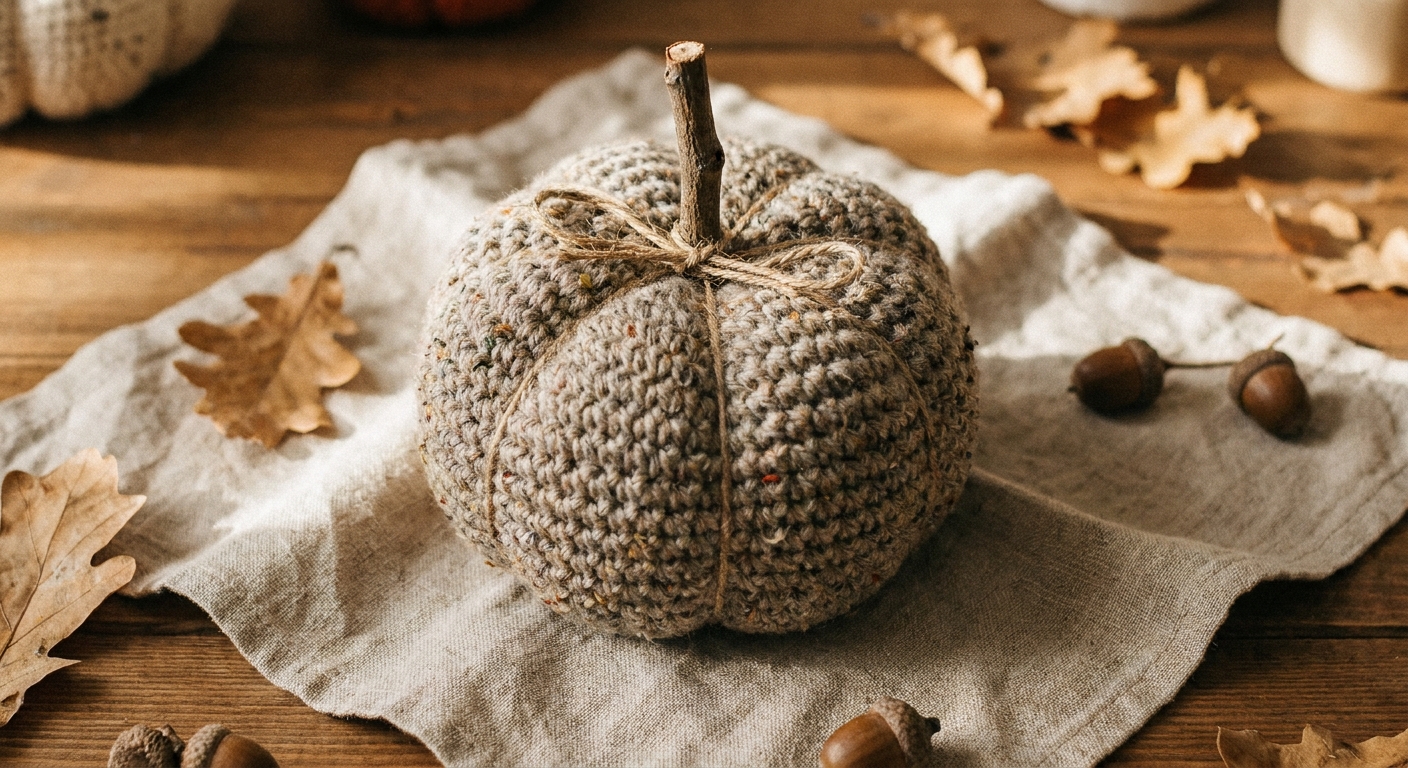
- Twig stem: same method, and it looks beautifully rustic with heathered yarn.
- Crocheted stem: make a small tube (a few rounds of sc) or a tight i-cord style chain, then stitch it on firmly.
Stem safety note: If you use a real twig or cinnamon stick, make sure it is clean and fully dry. Check for sharp edges and trim or sand anything that could poke through your stitches over time.
Wrap a little jute twine near the base of the stem if you want that extra farmhouse feel.
Rustic finishing tweaks
Use a smaller hook for structure
If your ribs look loose or your stuffing shows through, drop down one hook size. Dense fabric makes pumpkins look neater and helps them hold their shape all season.
Mix yarn textures on purpose
One of my favorite tricks is pairing a heathered pumpkin body with a slightly different stem yarn. For example: oatmeal tweed body, dark brown stem. The contrast makes the pumpkin look more “real” and less like one single blob of yarn.
Add weight for table stability
If your pumpkin is tall or you are using slippery stuffing, tuck a small bundle of scrap yarn in the bottom before you finish stuffing. It adds weight without changing the outside look.
Common pumpkin problems
My pumpkin is lopsided
- Add a pinch more stuffing to the flatter side.
- Re-pull the groove strands, tightening the looser sections evenly.
The hole will not close neatly
- Do a second round of running stitches closer to the edge, then cinch again.
- After cinching, stitch across the opening like you are lacing it shut.
The ribs do not pop
- Make sure you are working back loop only on every row after the first.
- Try a firmer gauge (smaller hook).
- Choose a yarn with a bit of body. Some very drapey yarns flatten the ribbing.
The shaping strand is cutting in too much
- Use the same yarn as the pumpkin, or a slightly thicker strand for shaping.
- Pull to “snug” and stop. Then adjust grooves by hand, pushing the fabric where you want the valleys.
Centerpiece styling ideas
- Make three sizes in the same color family (small, medium, large) and cluster them on a wooden tray.
- Mix neutrals and one pop color: oatmeal, warm gray, and one rust pumpkin.
- Add natural fillers like pinecones and dried leaves around the pumpkins for a simple table runner moment.
- If you want a softer look, use heathered yarn for the pumpkins and keep stems natural twig.
For more seasonal makes beyond pumpkins, the broader ideas list in Holiday Crafts is a good place to browse when your hook is itching for the next cozy project.
Quick FAQ
Can I use cotton yarn?
Yes, with a note. Cotton can be heavier and less springy, so it may not cinch as easily. Use a smaller hook and stuff a bit more firmly to help it hold shape.
What is the fastest version?
Bulky yarn, a slightly smaller hook than recommended, and fewer rows for a squat pumpkin. You can make a whole set in an afternoon once you get the rhythm.
How do I make mini pumpkins?
Use fewer chains for height and fewer rows for width, or switch to a lighter yarn weight like DK. The construction stays exactly the same.
A calm finishing reminder
The most charming rustic pumpkins have tiny quirks. A slightly uneven groove or a stem that leans a bit makes it feel handmade in the best way. Put on something cozy, pick the most autumn-looking tweed in your stash, and let the ribbing do the work.
If you want to explore more patterns and skill-builders, you can also wander through Crochet Patterns anytime your project basket feels a little empty.