
10 Best Knitting Stitches for Self-Striping Yarn

I have a soft spot for self-striping yarn. It feels like magic the first time you watch the colors march across your needles on their own. Then you try a “pretty” stitch, and suddenly the stripes look… lumpy. Or speckled. Or like they are arguing with your texture.
The trick is choosing stitches that either (1) stay out of the yarn’s way, or (2) control the color changes on purpose. Below are my favorite knitting stitch patterns for showing off self-striping yarn, with notes on when each one shines and what to watch out for.
Before you pick a stitch: 4 quick rules
- Keep the surface simple if you want clear stripes. Big texture breaks up the color bands.
- Swatch in the round if your project is in the round. Self-striping often looks more consistent without purl rows interrupting the color flow.
- Mind your gauge and circumference. If your stitch count or width changes, the stripe rhythm changes visually too. That can be lovely, but it is not a surprise you want to discover mid-sleeve. For example, socks at 64 stitches can stripe very differently than the same yarn at 72 stitches.
- Choose your goal: do you want bold stripes, watercolor blending, or controlled patterning? Your “best” stitch depends on that.
If you are knitting something that needs a really comfortable, stretchy edge (especially socks), my roundup of best cast-on methods for stretchy socks and ribbed cuffs pairs beautifully with self-striping yarn.
1) Stockinette stitch
Best for: the cleanest, most obvious stripes and long color transitions.
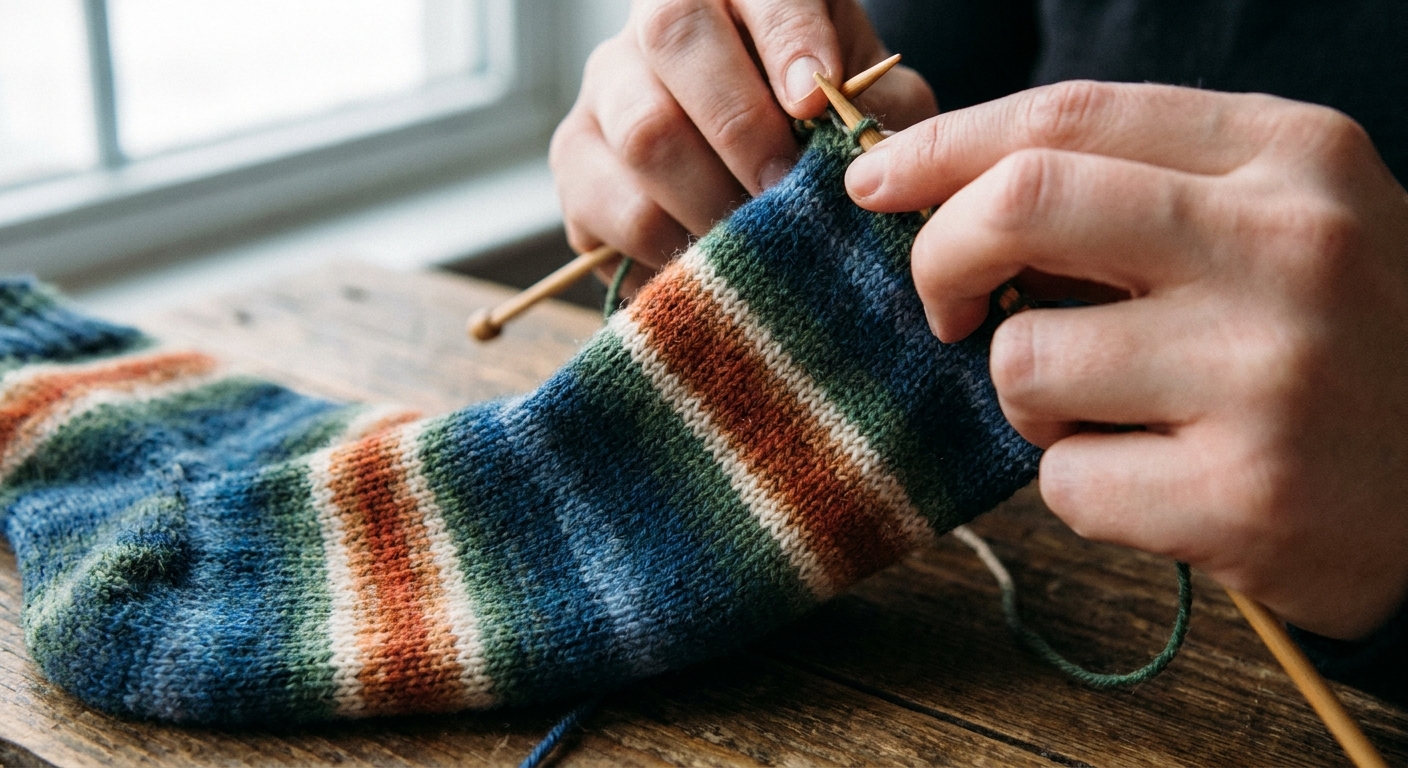
Stockinette is the classic “let the yarn talk” fabric. If your yarn is designed to stripe evenly, stockinette is the most honest way to show it. I reach for it for hats, sleeves, cowls, and especially socks.
- Pro tip: If you are knitting flat, consider a stockinette body with a border (garter, seed stitch, or rib) so the edges behave without competing with the stripes.
- Watch out for: curling edges when worked flat.
2) Reverse stockinette stitch
Best for: slightly softer, more muted stripes.
Reverse stockinette (purl side facing out) makes self-striping yarn look a little calmer and cozier. It is still simple enough to keep the color bands readable, but it takes the shine down a notch, which can be gorgeous for rustic wool or heathered stripers.
- Pro tip: Add a smooth stockinette panel as a design line (down the side of a hat or mitten) for contrast.
3) Garter stitch
Best for: shawls, scarves, and blankets that you want to drape and behave at the edges.
Garter stitch breaks stripes into gentle ridges. Your colors still read clearly, but they look a bit more “handmade” and less graphic than stockinette. I love garter for self-striping shawls because it prevents curling and makes the fabric squishy.
- Pro tip: If your stripes look too busy, go up a needle size. A looser garter stitch can help the transitions blend.
- Watch out for: garter can visually shorten stripes because the ridges catch the light.
4) Broken rib (2-row repeat)
Best for: beanies, cuffs, and simple sweaters where you want stretch without “ribbing chaos.”
Traditional ribbing can make self-striping yarn look jittery because the knit columns and purl columns reflect color differently. Broken rib keeps the elasticity vibe but reads calmer and more vertical.
How it works (one common version): Work over an even number of stitches. Row 1: *K1, P1* repeat. Row 2: Knit all stitches. Repeat Rows 1 to 2.
- Pro tip: This is a lovely choice for a whole hat when you want stripes that look intentional but not too loud.
5) Seed stitch
Best for: “confetti” stripers and short repeats you want to blend.
Seed stitch is textured enough to blur hard stripe lines, but it stays small-scale, so it does not create big competing motifs. If your self-striping yarn has tiny stripes or lots of micro-color changes, seed stitch can turn visual noise into a tidy, tweedy surface.
- Pro tip: Use seed stitch when you want the garment shape to be the star and the yarn to act like a textured neutral.
- Watch out for: seed stitch eats yarn and can tighten your gauge, so swatch and be ready to adjust needle size.
6) Moss stitch (double seed stitch)
Best for: smoothing out striping that looks too “staccato.”
Moss stitch has a slightly larger rhythm than seed stitch, which can create a calmer overall look with self-striping yarn. The color transitions still show, but the fabric reads more like a gentle color field with structure.
- Pro tip: If you like the idea of seed stitch but want less sparkle and more steadiness, try moss.
7) Linen stitch (slip-stitch texture)
Best for: turning stripes into a woven look and helping reduce pooling.
Linen stitch is one of my favorite “stripe tamers.” Because you slip stitches every row (or every round), the yarn’s color changes get distributed in a more controlled, speckled weave. It can be especially helpful when a self-striping yarn insists on stacking colors in one spot, although pooling is stubborn and results depend on repeat length, gauge, and circumference.
- Pro tip: Linen stitch is firmer and less stretchy, so it is fantastic for bags, cuffs, and structured accessories.
- Watch out for: It uses more yarn than stockinette and can feel dense. If you want drape, size up your needles.
8) Simple slip-stripe texture
Best for: making stripes look sharper and more graphic without adding a second color.
There are many easy slip-stitch patterns that create a subtle shadow effect or elongated stitches. With self-striping yarn, this can make each band look more defined and intentional, almost like the yarn is behaving on its very best manners.
A beginner-friendly concept: Work a repeat where you slip one stitch with yarn in back on certain rows while knitting the rest. The slipped stitches stretch color vertically and add texture without busyness.
- Pro tip: Try this for cowls and hats when you want a little something extra but still want the striping to be the main character.
9) Helix knitting (in the round)
Best for: jogless stripes when your self-striping yarn has strong color blocks.
When you knit stripes in the round, you often get a jog where the round begins. Helix knitting avoids that by knitting continuous spirals with two yarn sources. With self-striping yarn, you can do this by working from two balls of the same yarn, offset so the color changes do not land in the exact same place each round.
Reality check (said kindly): results vary by repeat length, stitch count, and how bold the color changes are. Sometimes helix gives beautifully smooth rings, and sometimes it creates a subtle diagonal or barber-pole effect. Swatch a small tube first if you care about the exact look.
- Pro tip: This is gorgeous for hats and cowls where you want uninterrupted stripes.
- Watch out for: You will have two working strands to manage, so it is not the best choice if you want a mindless commute project.
If you are building your knitting skills, our Knitting guide is a nice home base for techniques and project ideas.
10) Mosaic slip-stitch with a solid
Best for: controlled, high-impact patterning while still letting the self-striping yarn shine.
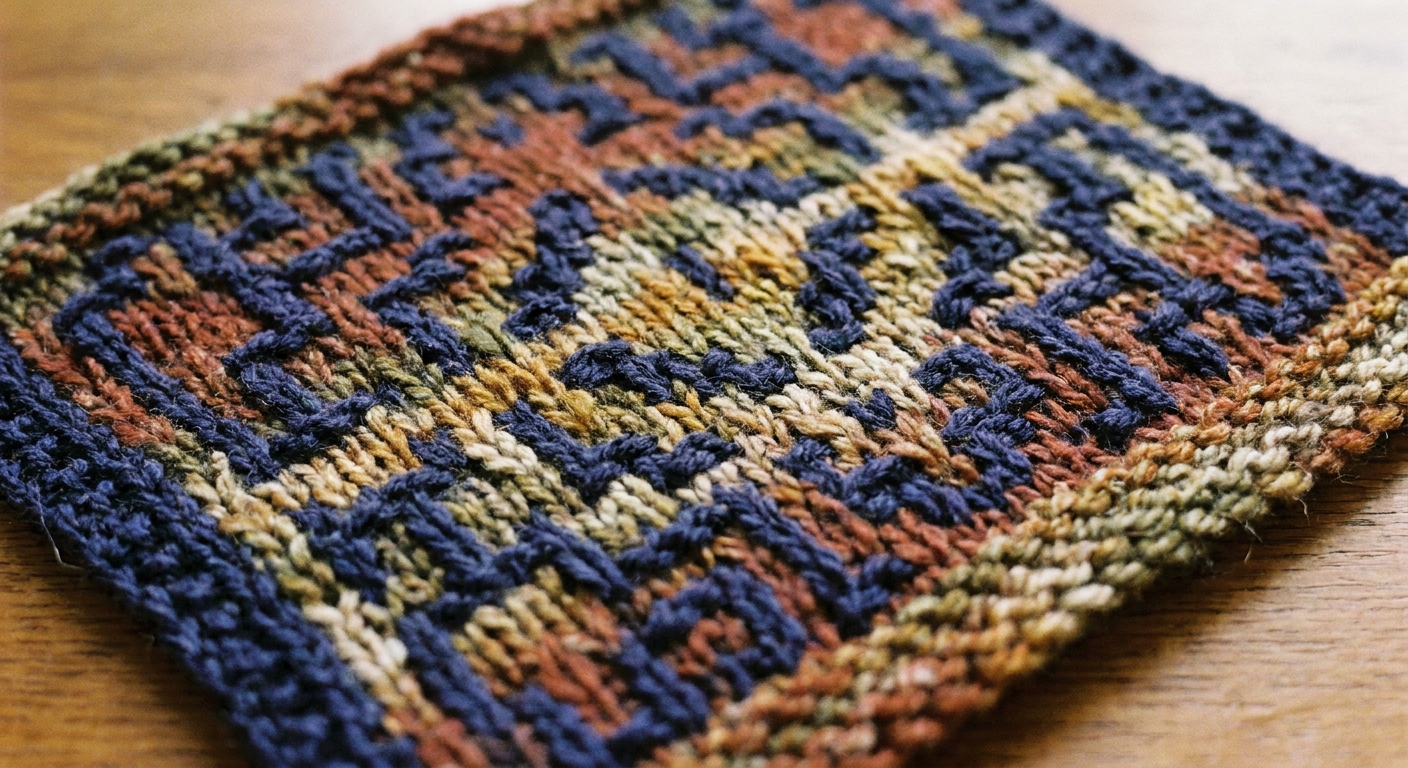
If you want to level up from “pretty stripes” to “wow, how did you do that,” pair a self-striping yarn with a quiet solid. Slip-stitch colorwork (often called mosaic knitting) uses one color per row, slipping stitches to create geometric motifs. The solid yarn anchors the design, and your self-striping yarn provides built-in variation inside the motif.
- Pro tip: Choose a solid that matches one of the colors in the self-striping skein. It makes the whole fabric look intentional and polished.
- Watch out for: Very high-contrast stripers can overpower delicate mosaic patterns. Bold motifs tend to read best.
Quick matchmaker
| Project | My top stitch picks | Why it works with self-striping yarn |
|---|---|---|
| Socks | Stockinette, broken rib for leg, helix knitting for jogless stripes | Clean stitch definition and consistent striping at small circumference |
| Hats | Broken rib, stockinette, simple slip-stripe texture | Stretch plus structure without disrupting color bands |
| Scarves and cowls | Garter, linen stitch, simple slip-stripe texture | Drape and tidy edges, plus texture that either softens or sharpens stripes |
| Sweaters | Stockinette, reverse stockinette, broken rib panels | Lets striping read across large areas without visual overload |
| Bags and sturdy accessories | Linen stitch, mosaic slip-stitch with a solid | Dense fabric, great structure, color looks designed |
Common self-striping issues
My stripes look messy, not stripey
Try stockinette (for crisp stripes) or garter (for softer stripes). Avoid large cables and high-relief textures until you know how your yarn behaves.
My yarn is pooling or stacking
Reach for linen stitch or another slip-stitch texture to help redistribute color. It is not a guaranteed fix, but it often breaks up the most dramatic stacking. If you are in the round, helix knitting can also change how those color blocks land.
The ribbing is making the colors look wobbly
Use broken rib for a calmer look, or keep ribbing limited to edges and switch to stockinette for the body.
The fabric feels too busy
Pick a stitch with a single clear story: either simple (stockinette, reverse stockinette) or controlled (linen stitch, mosaic slip-stitch). When everything is “interesting,” nothing is.
Do I need to avoid pooling
Not always. Some knitters want pooling and treat it like a design feature. If you love the look, lean into it by keeping your stitch pattern simple (usually stockinette) and staying consistent with stitch count and gauge. If you hate it, that is when slip-stitch textures, needle changes, or a small circumference tweak can be your best friends.
A swatching routine I actually use
- Wind two small center-pull cakes if you can. One for swatching, one to keep pristine for your project.
- Swatch at least 6 inches wide so you see a real stripe or two.
- Try two needle sizes in the same swatch if you are on the fence. Self-striping yarn can look dramatically different with a tiny gauge shift.
- Write down needle size and stitch pattern right away. I keep a simple project card on my table so I do not trust my memory. If you like that idea, you will probably enjoy my project-card habit. It is written for crochet, but the concept is exactly the same for knitting.
One last nudge
Self-striping yarn is already doing a lot of work for you, which is exactly why it is so fun. When in doubt, go simpler than you think you need. You can always add interest with shaping, a great cast-on, or a tidy border, and let those color changes be the show.
If you want more yarn and fiber decision help across projects, our Yarn crafts guide has more practical, stash-friendly reads.